Azure AD Provisioning automates the process of creating, updating, and removing user accounts in third-party applications using API endpoints. miniOrange's automated User Provisioning feature seamlessly integrates with Azure AD to provision all user identities automatically, saving time and managing access privileges throughout the user lifecycle.
Bi-directional and automatic user provisioning and de-provisioning actions enhance security by removing access to sensitive applications and content when an employee leaves or changes roles. This improves your organisation's security profile.
Automatic Provisioning saves time when setting up new users and teams, and also manages access privileges through the user lifecycle. It is considered as a part of user lifecycle management. miniOrange can create, read, and update user accounts for new or existing users, remove accounts for deactivated users, and synchronize attributes across multiple user stores and the applications that the user needs acess to.
Azure Active Directory (Azure AD) Deprovisioning means deleting a user and removing their access from multiple applications and network systems at once. Automatic Deprovisioning action is triggered when an employee leaves a company or changes roles within the organization. The deprovisioning features increase your organization's security profile by removing access to sensitive applications and content from people who leave your organization.
What is SCIM provisoning in Azure Active Directory (AD)?
System for Cross-domain Identity Management (SCIM) is an open standard to automate user provisioning. SCIM standard is a communication medium between an Identity Provider (IDP) and a Service Provider (SP) that requires user identity information.
SCIM provides a defined schema for representing users and groups, and a RESTful API to run CRUD operations on those user and group resources which is essential part of Provisioning users to Office 365
With the SCIM protocol, user data is stored in a consistent way and can be shared with different applications. Since data is transferred automatically, complex exchanges are simplified and the risk of error is reduced. You will learn more about Office 365 provisoning in this document below.
miniOrange provides solutions for all scenarios of provisioning, which includes AD Integration, LDAP Integration and automated provisioning for all External Applications such as Office 365, Google Workspace, Workday, etc
Following is the Step-by-Step Guide given below to setup Provisioning in Azure Active Directory (Azure AD)
1. Setup Automatic Provisioning in Azure Active Directory (Azure AD)
Go to the External directories, Click on Add Directory.
Configure ldap as a User Store to set up user provisioning with AD/LDAP. You can choose any of the user store mentioned there.
Store LDAP Configuration in miniOrange: Keep configuration in miniOrange. Make sure to open the firewall to allow incoming requests to your LDAP.
Store LDAP Configuration On-Premise: Keep configuration in your premise and only allow access to LDAP inside premises. You will have to download and install miniOrange gateway in your premise.
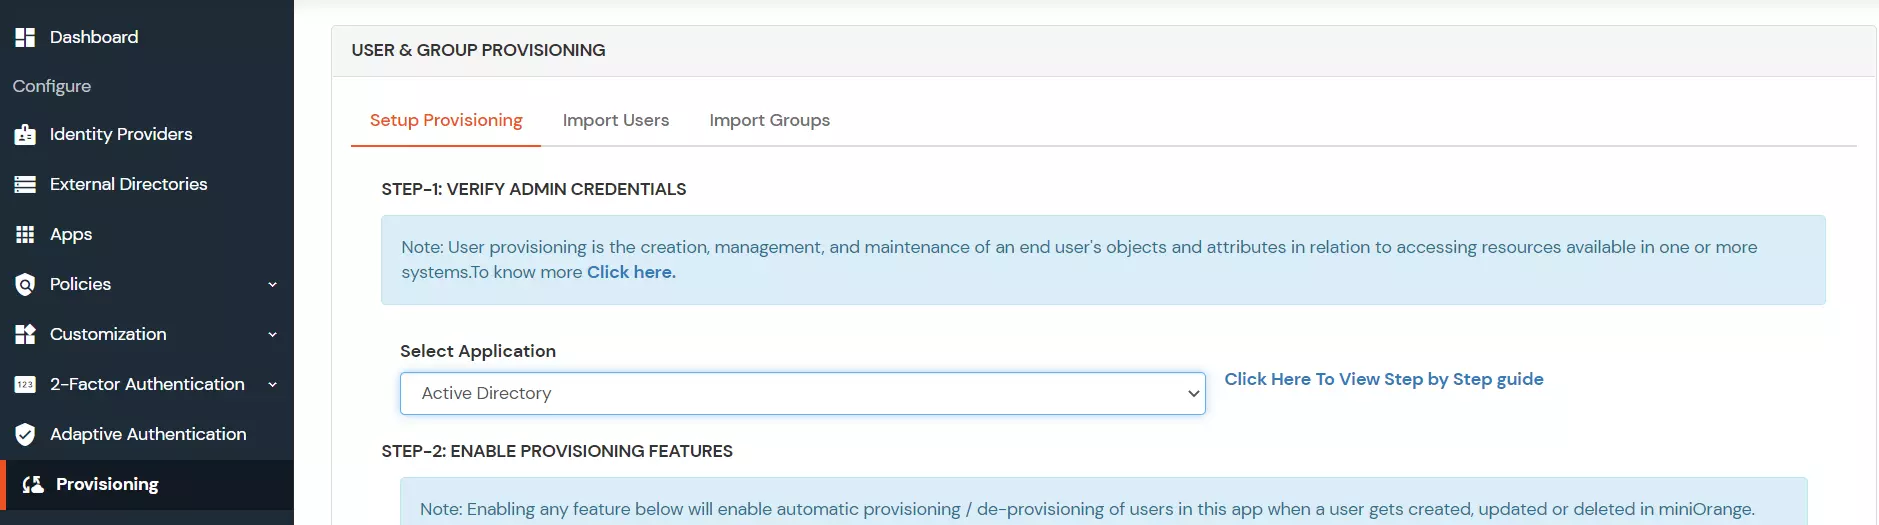
In the Provisioning section and select Active Directory from the dropdown.
Enter the Admin Username and click on Verify Credentials.
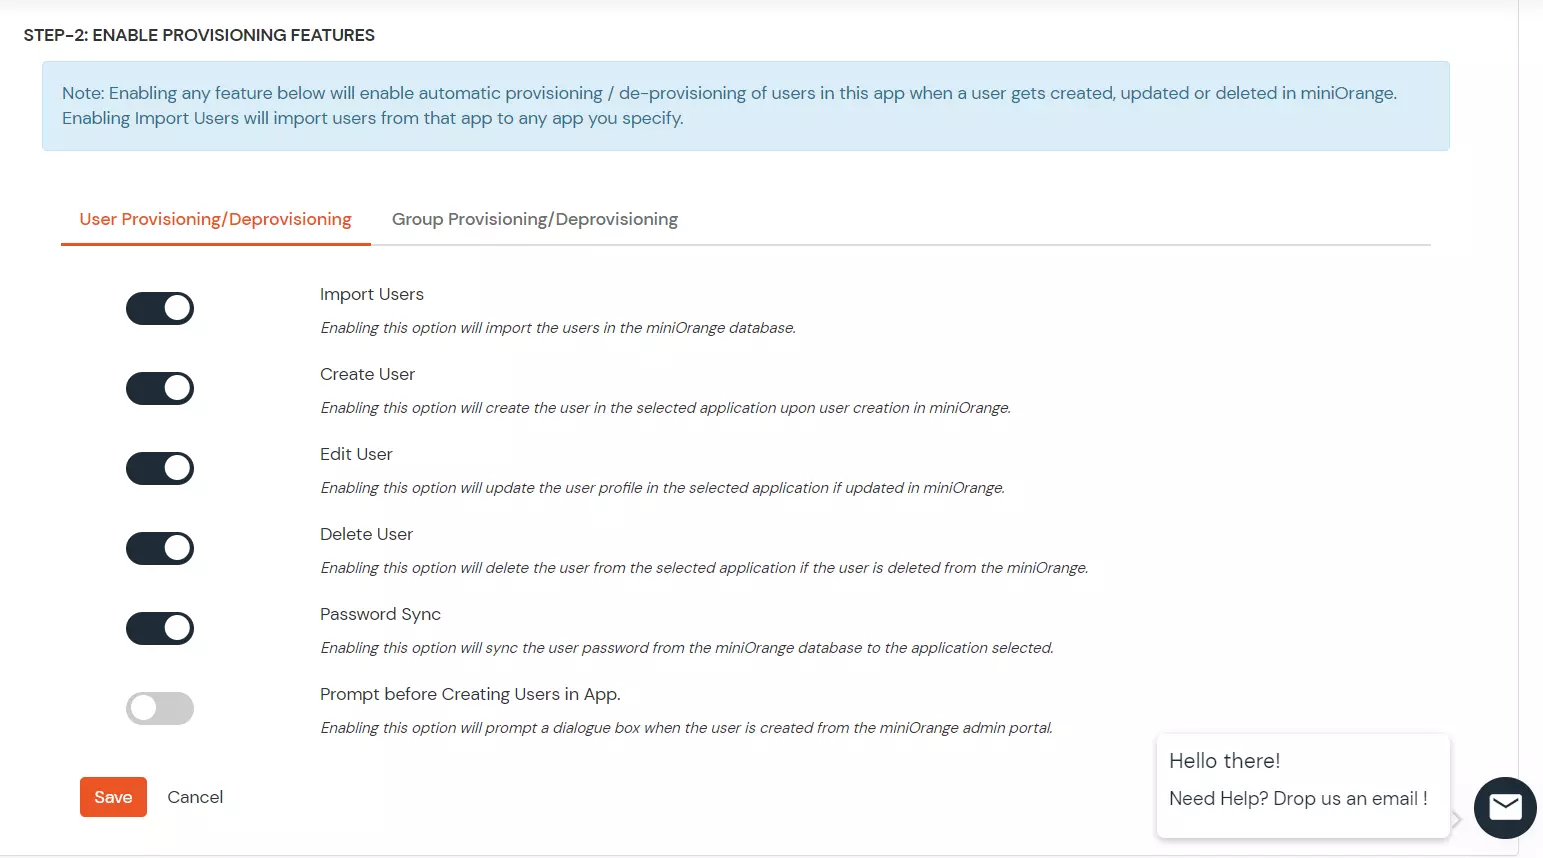
In User Provisioning/Deprovisioning tab enable the provisioning features such as Import User, Create User, Edit User, Delete User and Password Sync which you want for users.
In Group Provisioning/Deprovisioning tab enable the group provisioning features such as Import Group, Create Group, Delete Group and Add/Remove Group membership of User.
Click Save.
2. Import Users
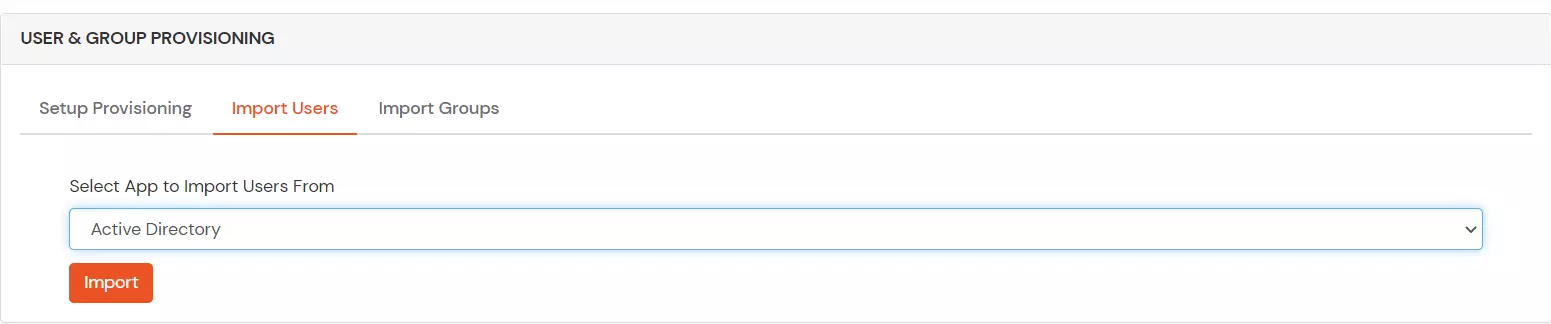
To import the users from Azure Active Directory (Azure AD), go to the Import Users tab.
Select the Active Directory from the drop-down menu and click on import.
Now go to the Users >> User List and you will find the all the users imported from Active Directory.
3. Import Groups
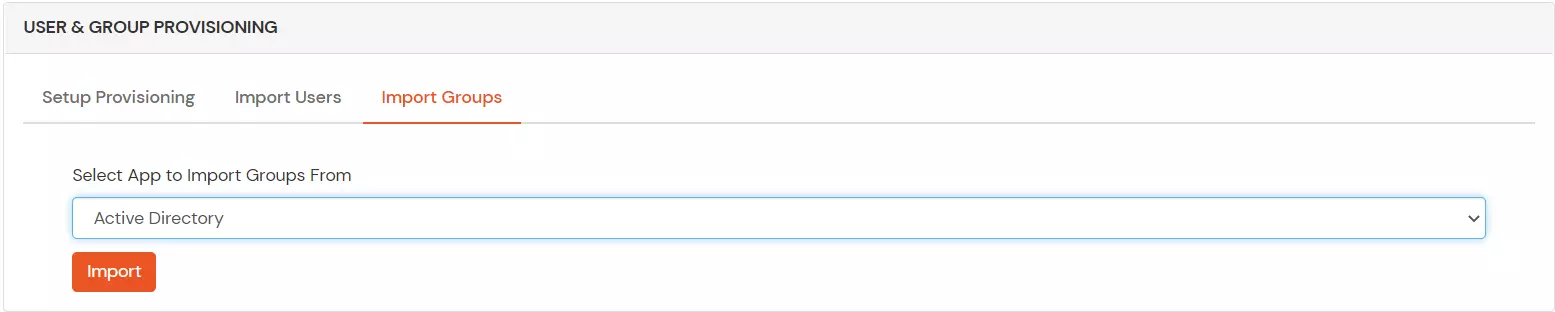
To import groups from Azure Active Directory (Azure AD), go to the Import Groups tab.
Select the Active Directory from the drop-down menu and click on Import.
4. Create Users
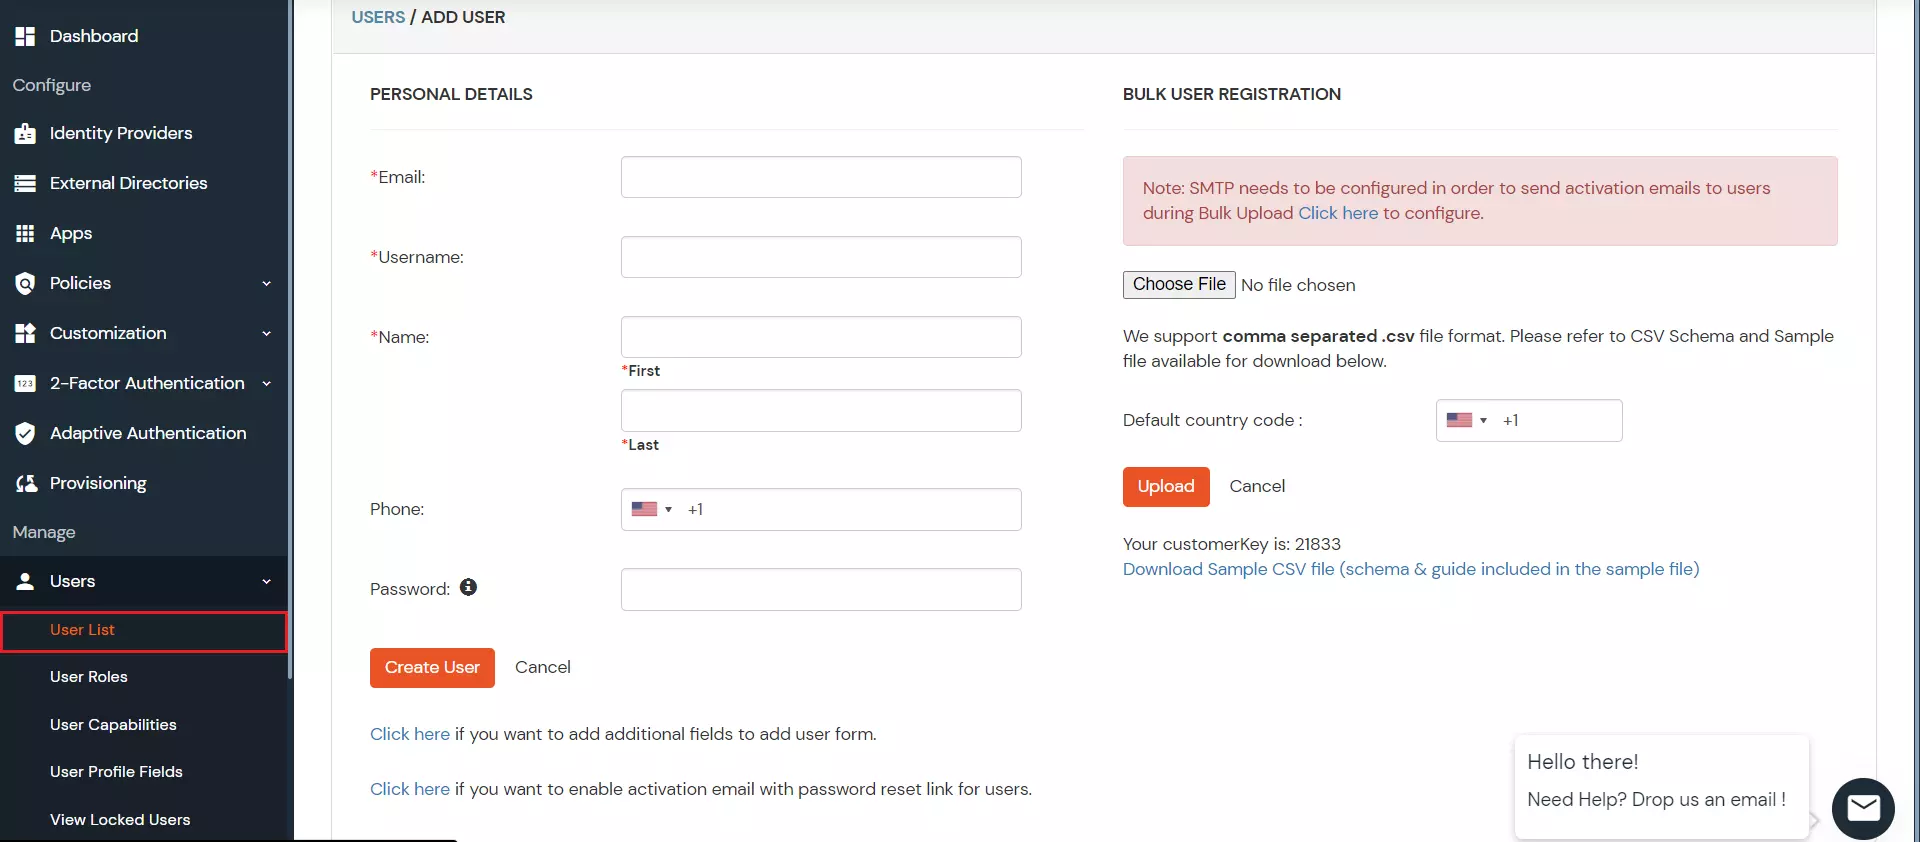
To create a user in miniOrange, Go to Users >> User List >> click on the Add User button.
Fill out user basic information and click on Create User button.
After creating user in miniOrange it will automatically create the same user in Azure AD.
5. Edit Users
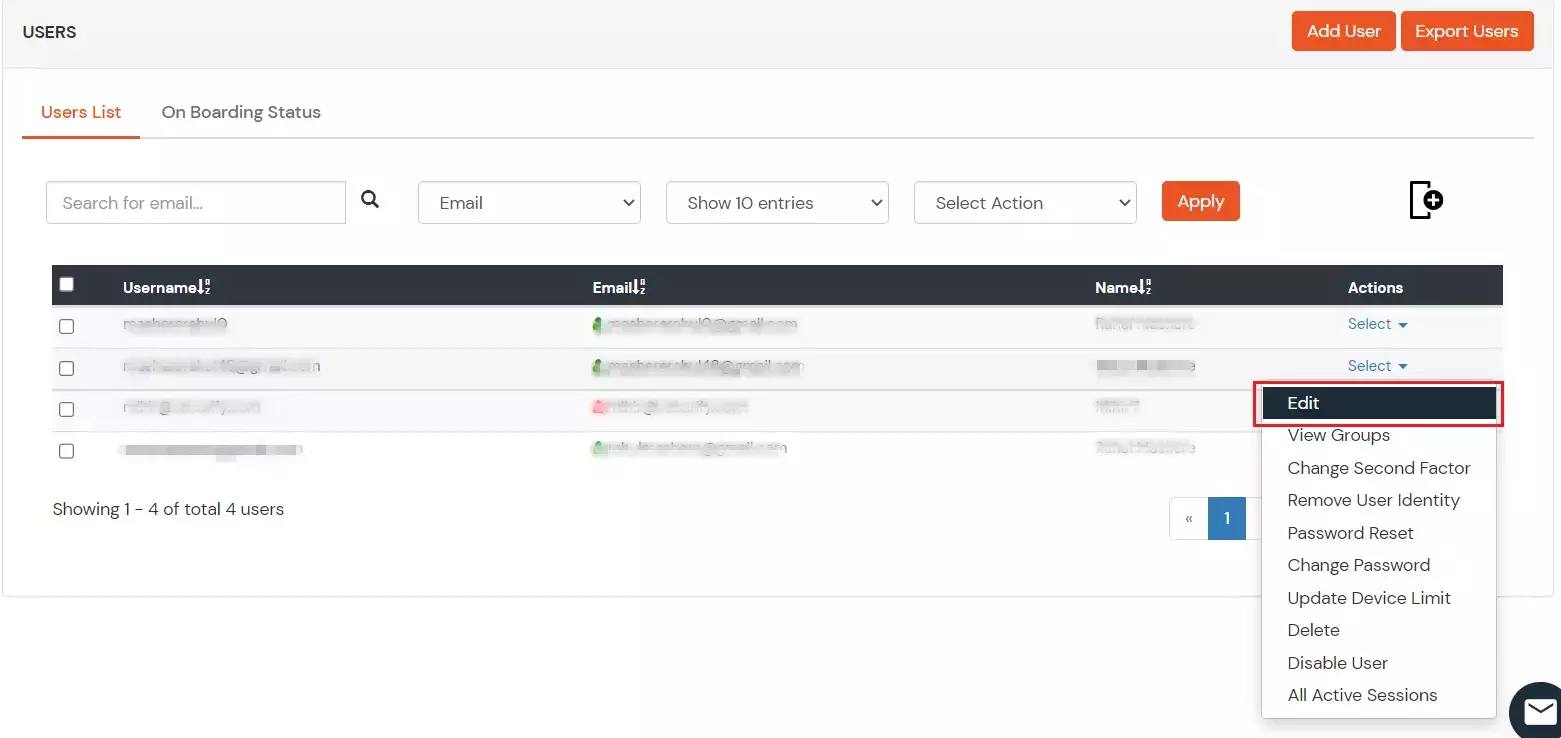
To update user profile, Go to Users >> User List.
Select a particular user and in Actions dropdown select Edit.
Fill out user updated information and click on Save button.
6. Delete Users
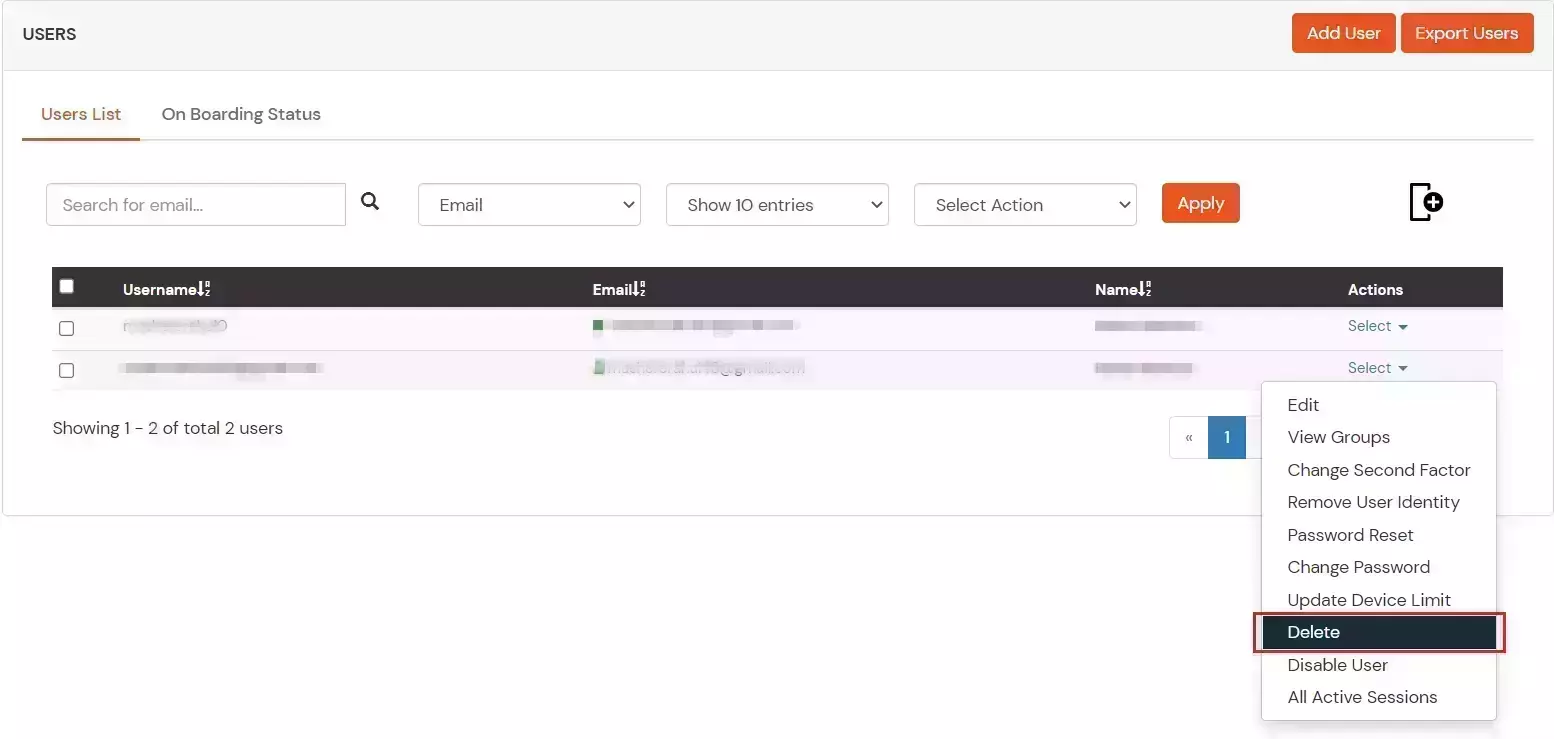
To delete user, Go to Users >> User List.
Select a particular user and in Actions dropdown select Delete.
A pop up will appear in which click on Yes button.
7. Password Sync
To send password sync emails to the users with link to reset their Azure Active Directory account password, Go to Users >> User List and click on Onboarding Status tab.
Select users and in Select Action dropdown select Send Activation Mail with Password Reset Link.
Click on Apply.
Click on the activation link and it will direct to reset password.
Once, the new password is set it will be synced.
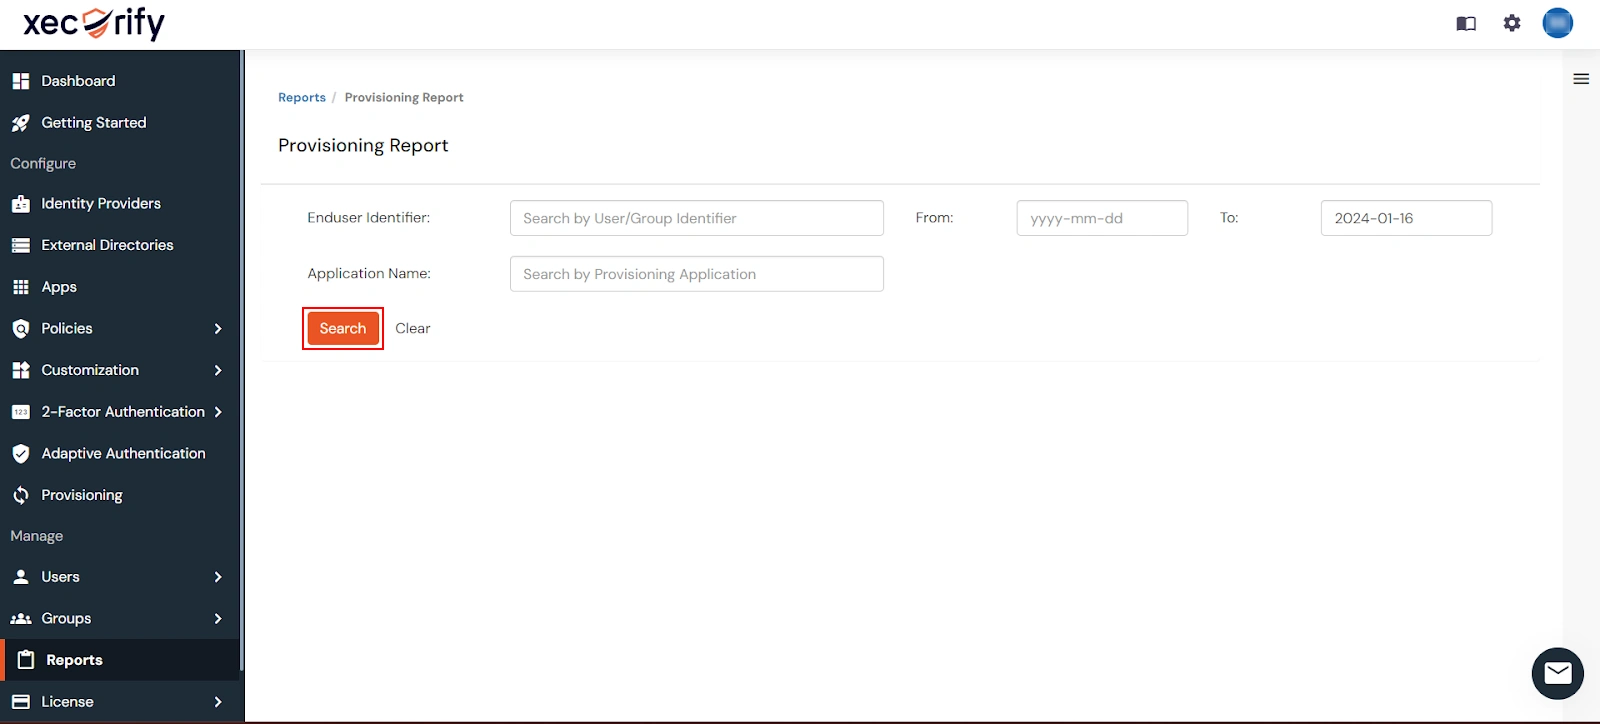
View Provisioning Reports
How to access Provisioning Reports?
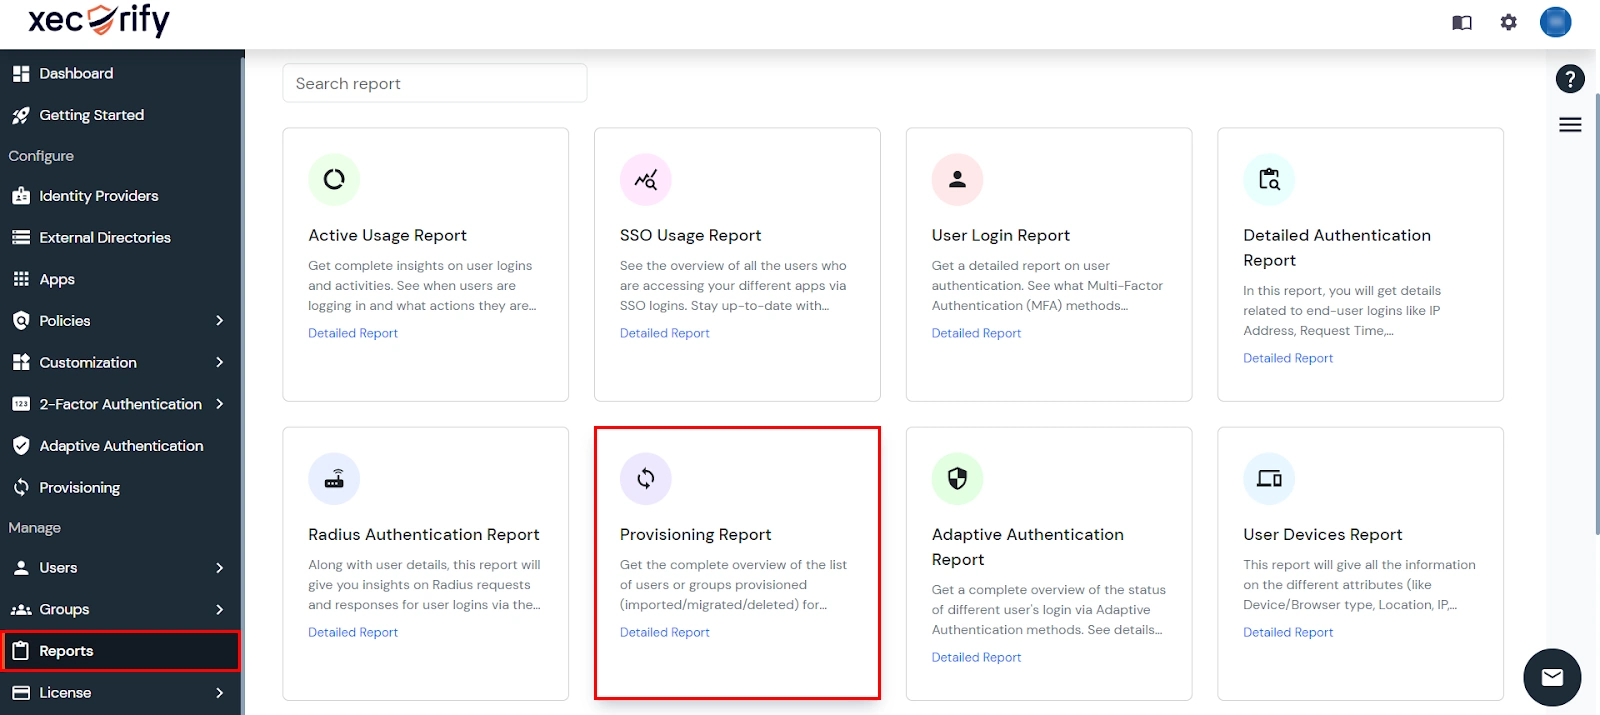
Navigate to the Reports in the left-hand navigation pane and select Provisioning Report.
Filter the reports by specifying Enduser Identifier and Application Name criteria. Additionally, choose the desired timespan for the reports. Once done, click on the Search.
Alternatively, you can directly click on Search to retrieve all provisioning reports based on time without applying any specific filters.