How to add a Custom Provisioning App
This guide provides a comprehensive overview of the steps needed to configure Custom provisioning effectively. By following these steps, you can streamline user management, automate access to necessary tools, and enhance security through predefined roles.
1. Create Custom App
- Login into miniOrange Admin Console.
- Go to Apps and click on Add Application button.
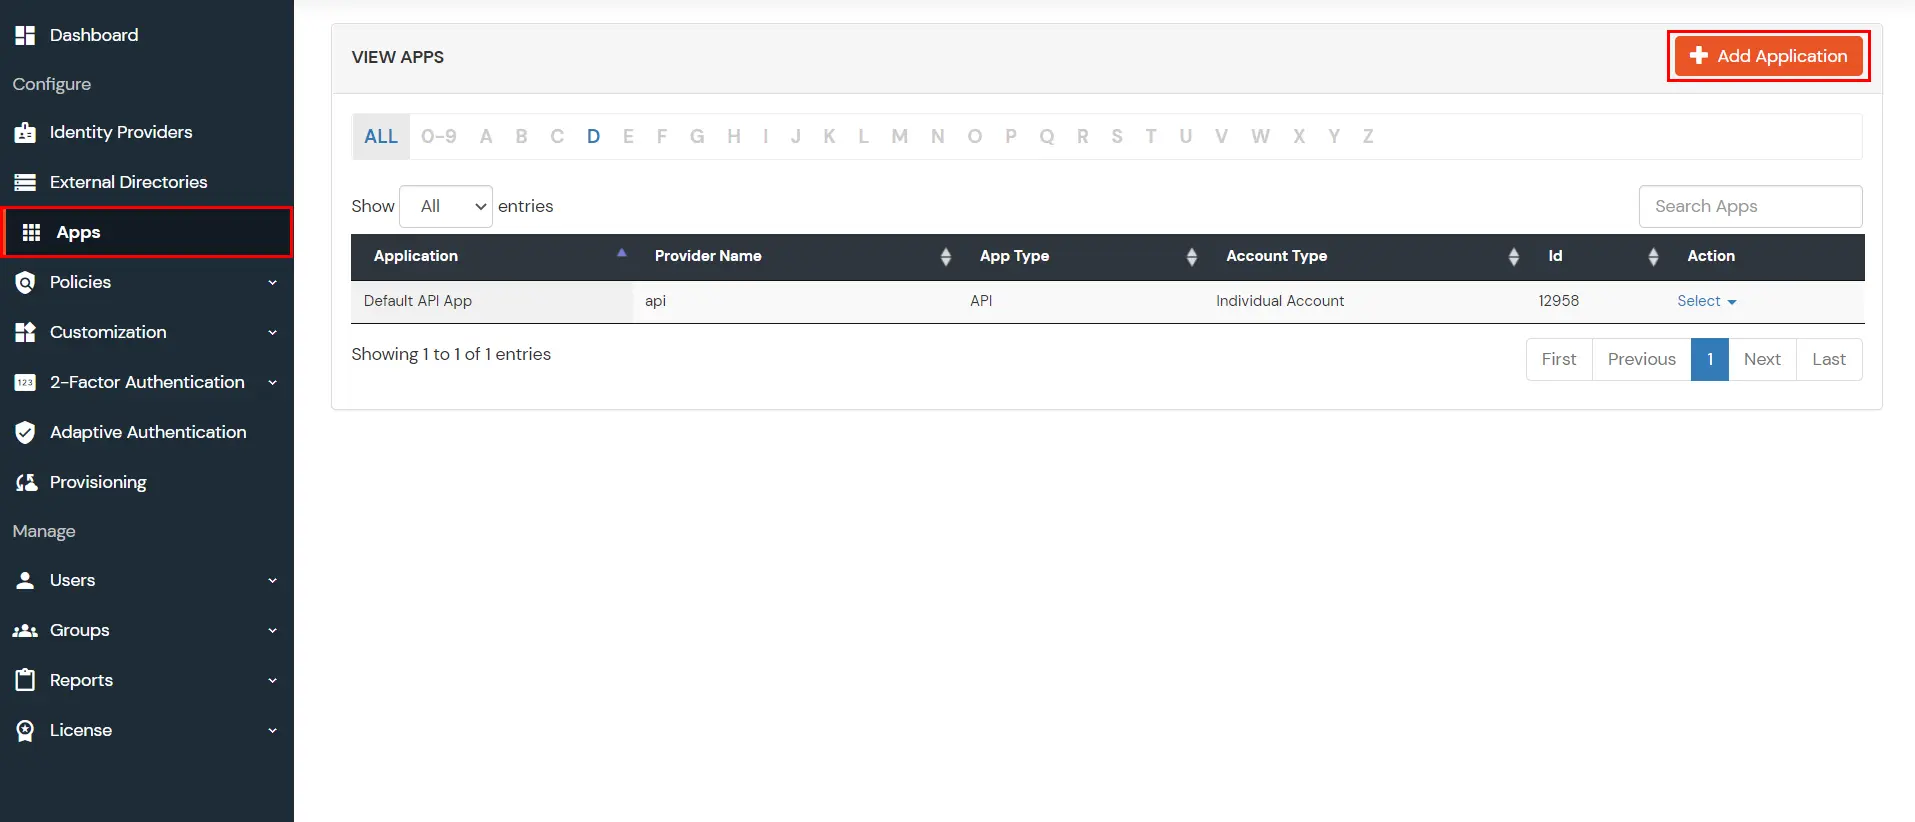
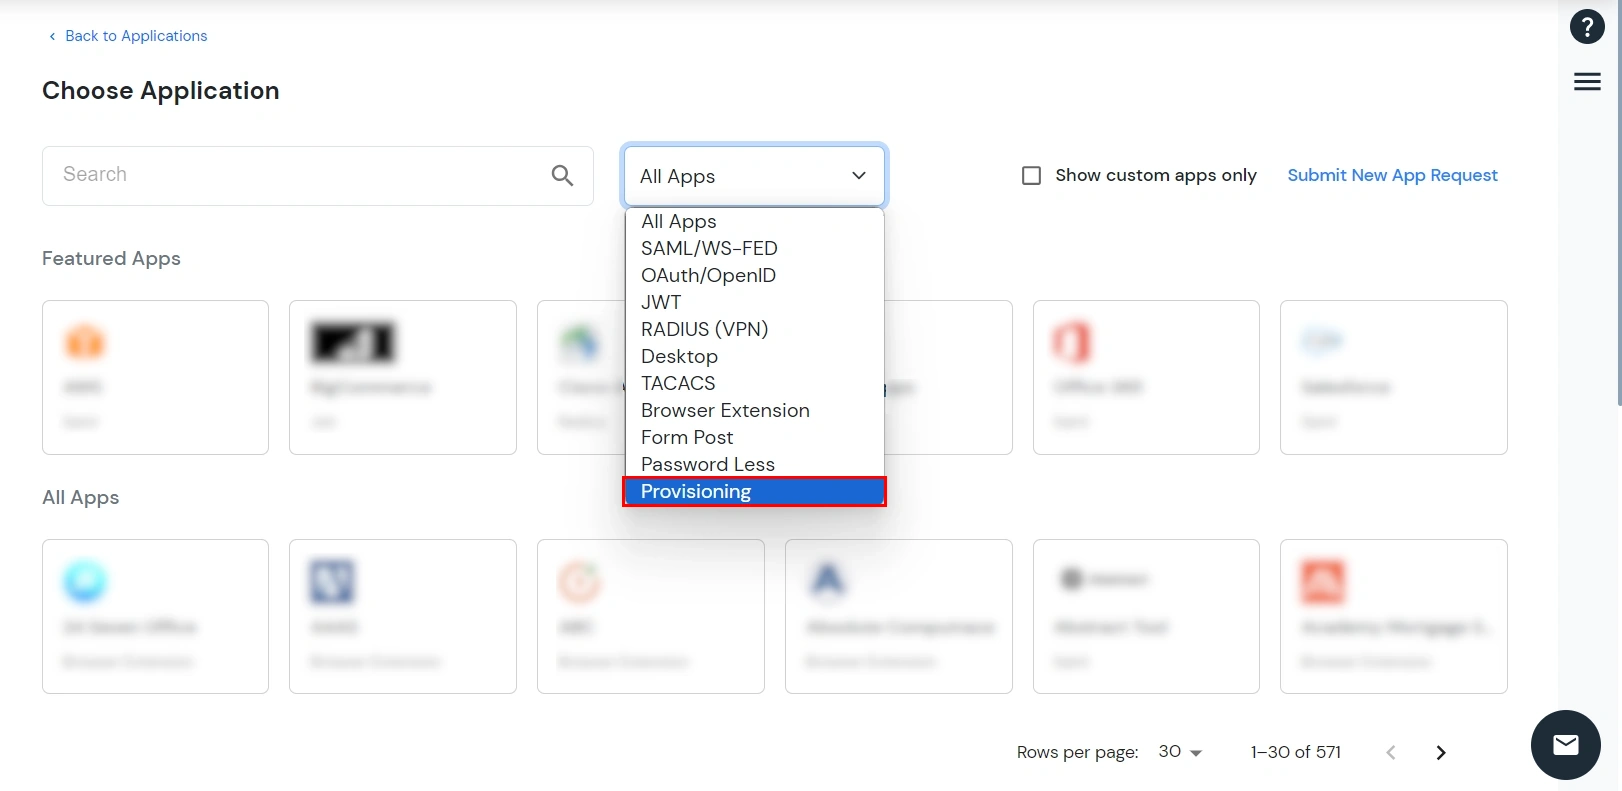
- Under Choose Application, select Provisioning from the All Apps dropdown.
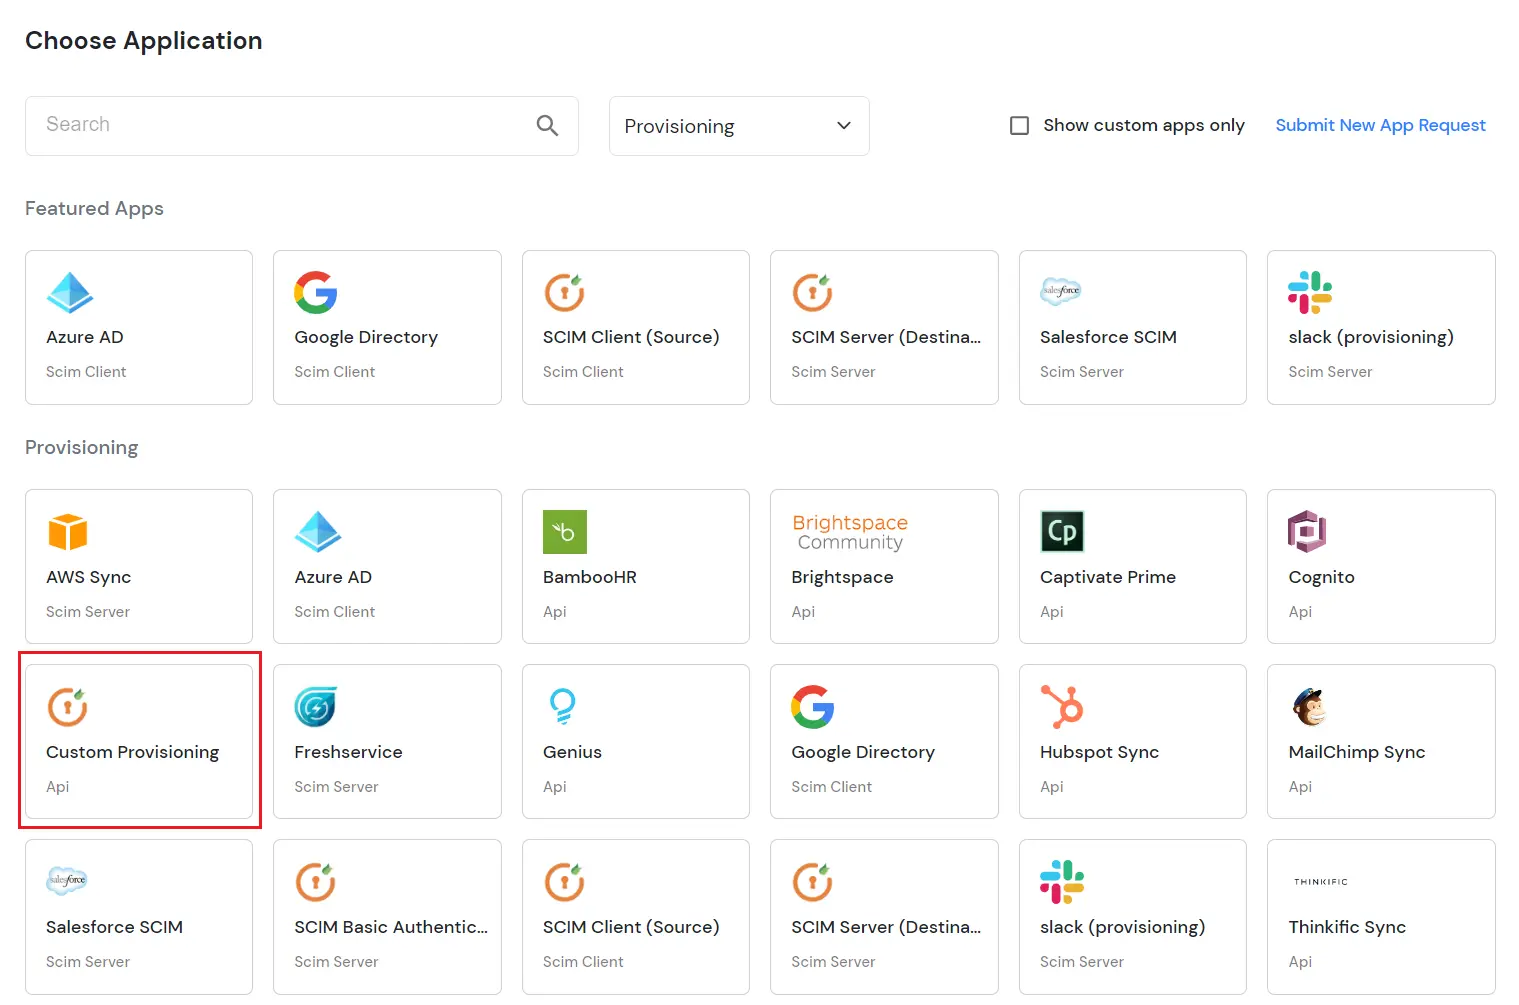
- Select Custom Provisioning
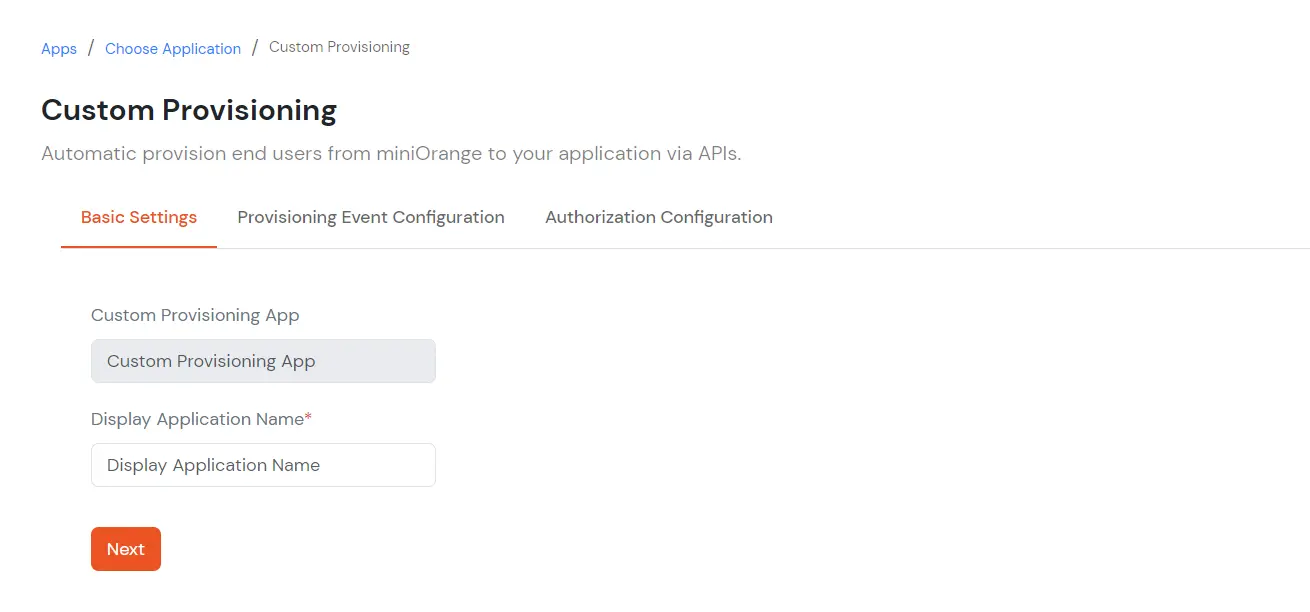
- Enter the App Name that you prefer and save this application by clicking on next.
2. Add authorization for the API’s
- Select Authorization Configuration and click on Add Configuration.
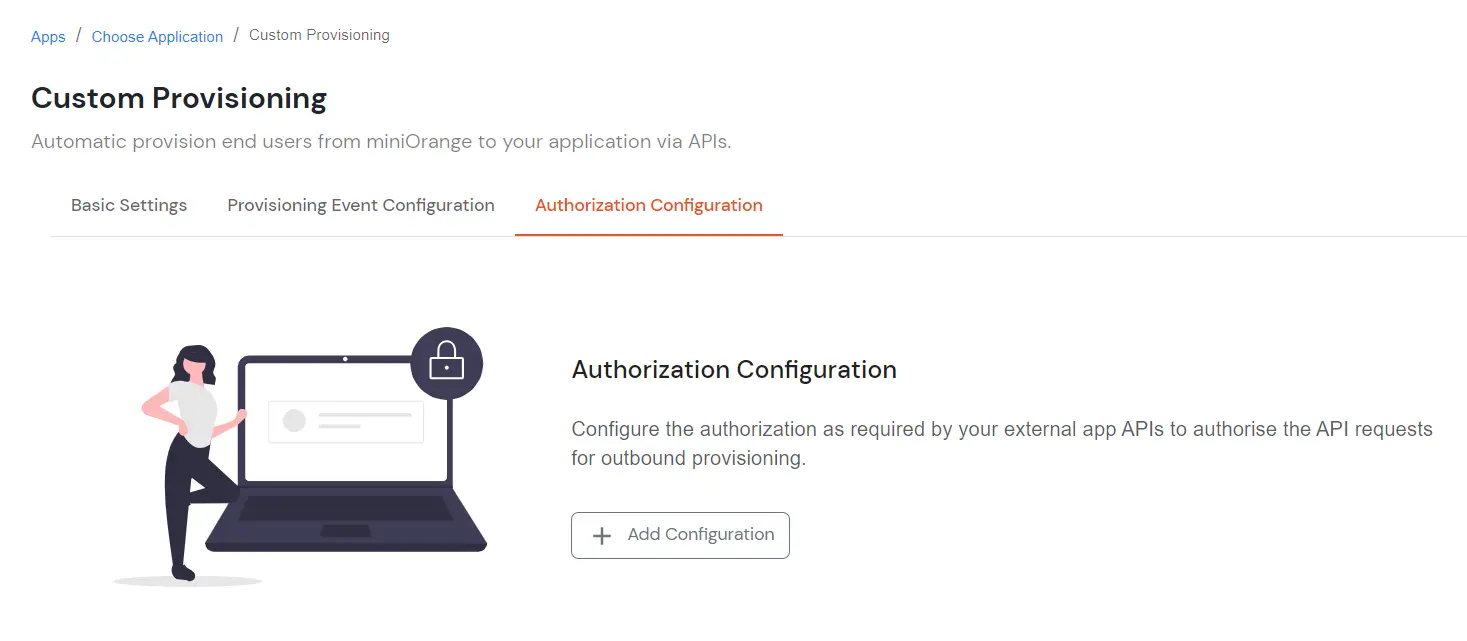
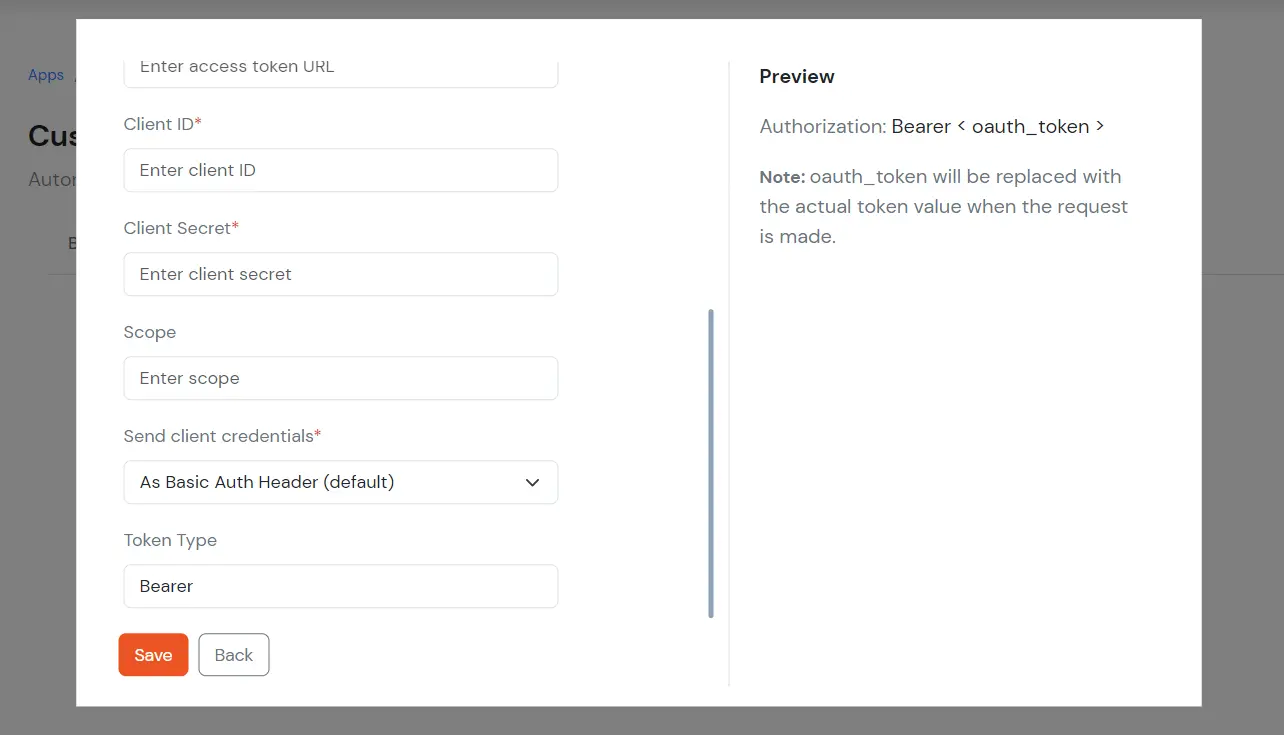
- The user can select any one of the 4 Authorization types based on their requirements.
- Basic
- Bearer
- OAuth 2.0
- Custom
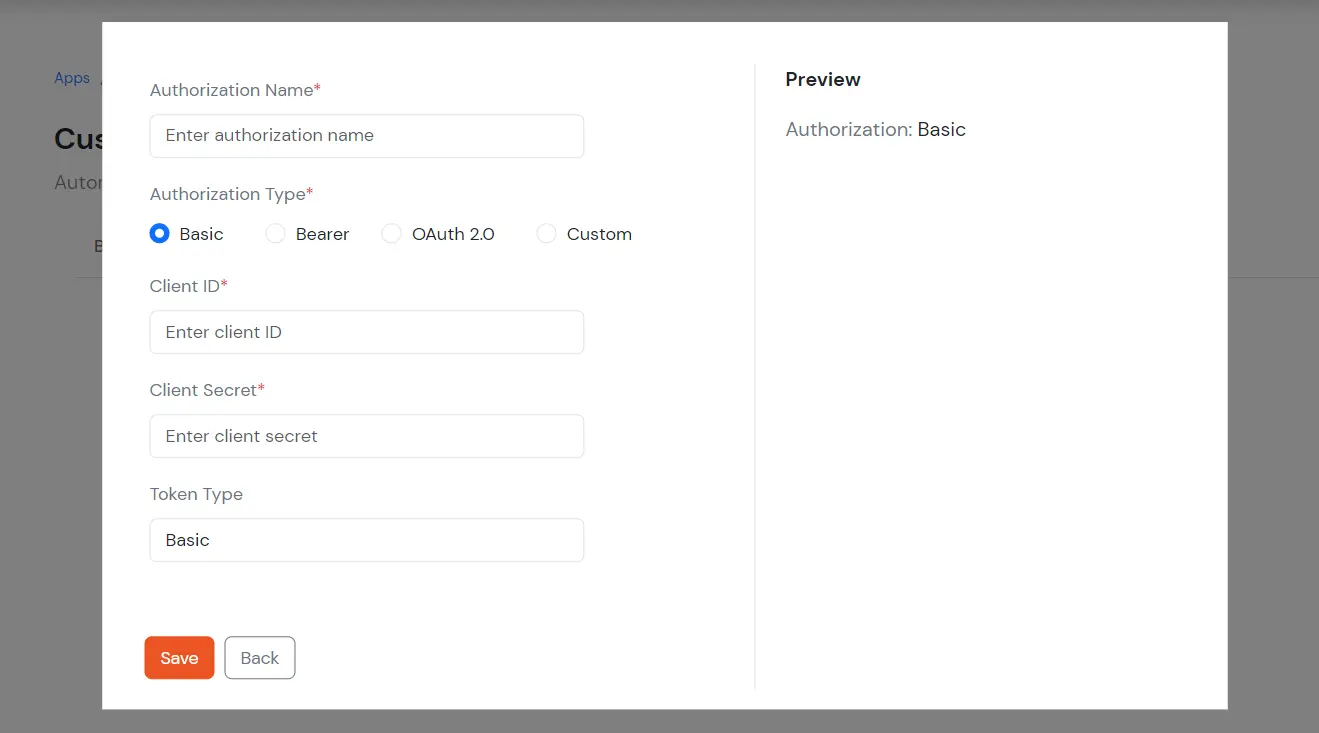
- When you select Authorization type as Basic, add the authorization name, client id and client secret of the app your configuring with and click Save.
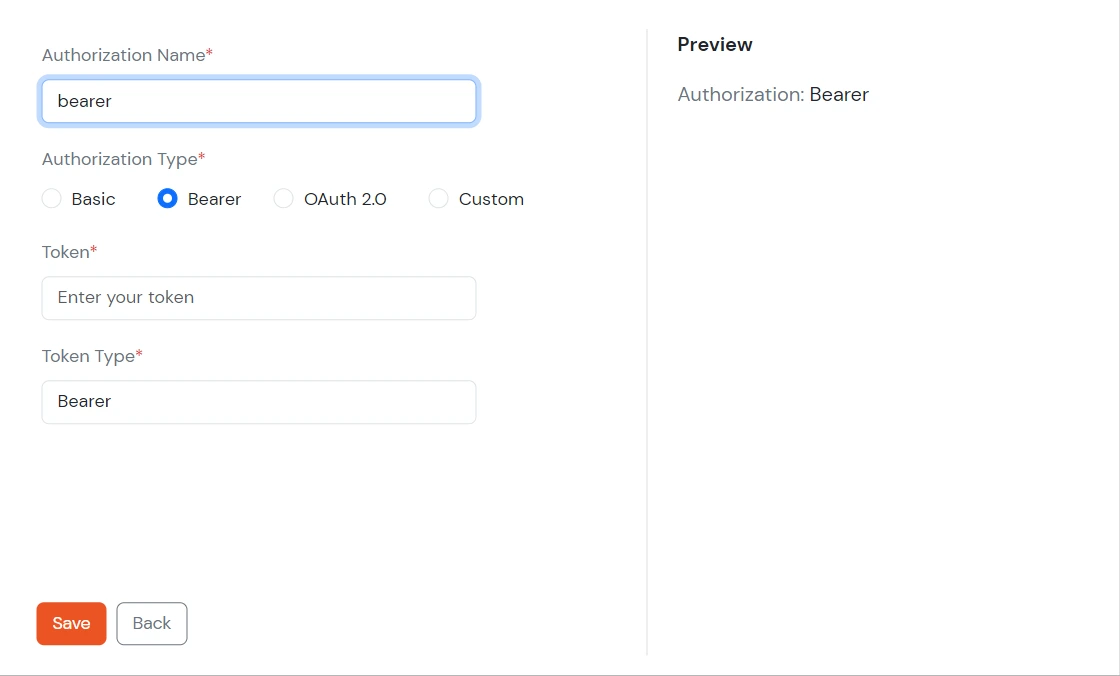
- When you select authorization type as Bearer, add the bearer token value to give access to the APIS and click on save
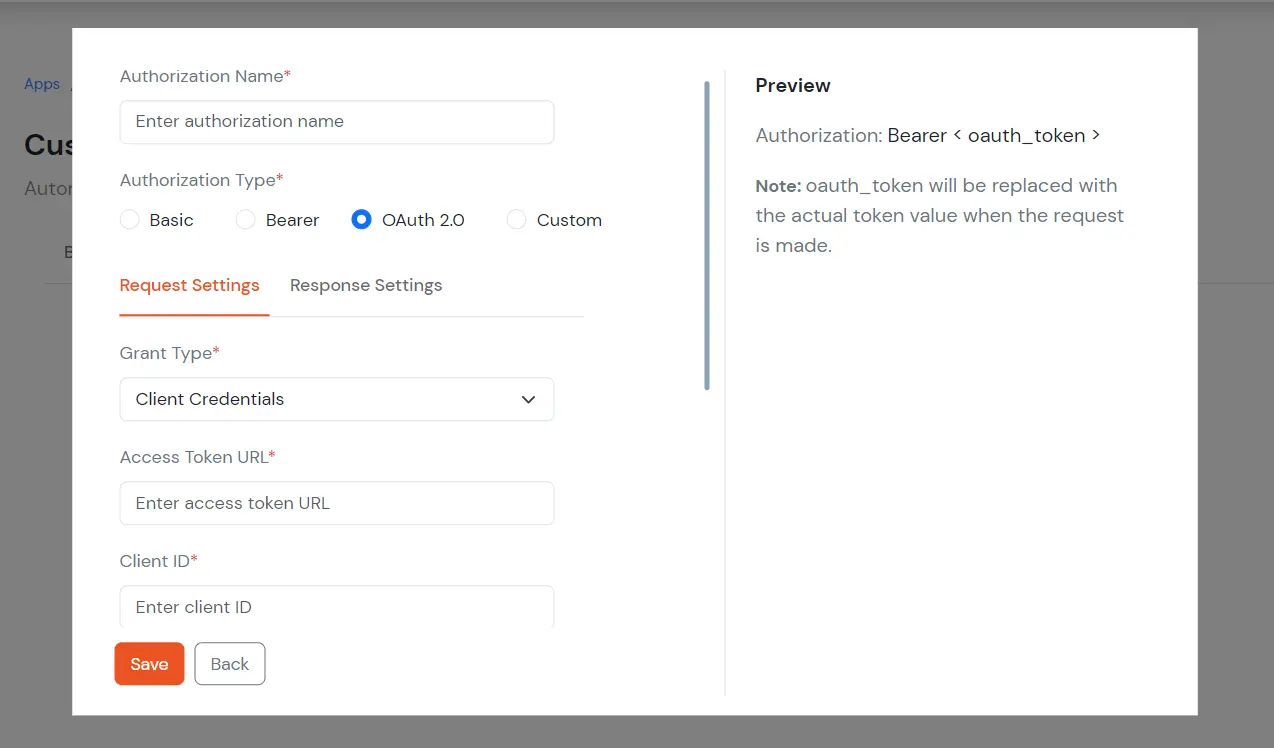
- When you select authorization type as OAuth 2.0, add the Access token, client id and client secret of the app your configuring with and click Save.
- When you select authorization type as Custom, select the URL method, add URL
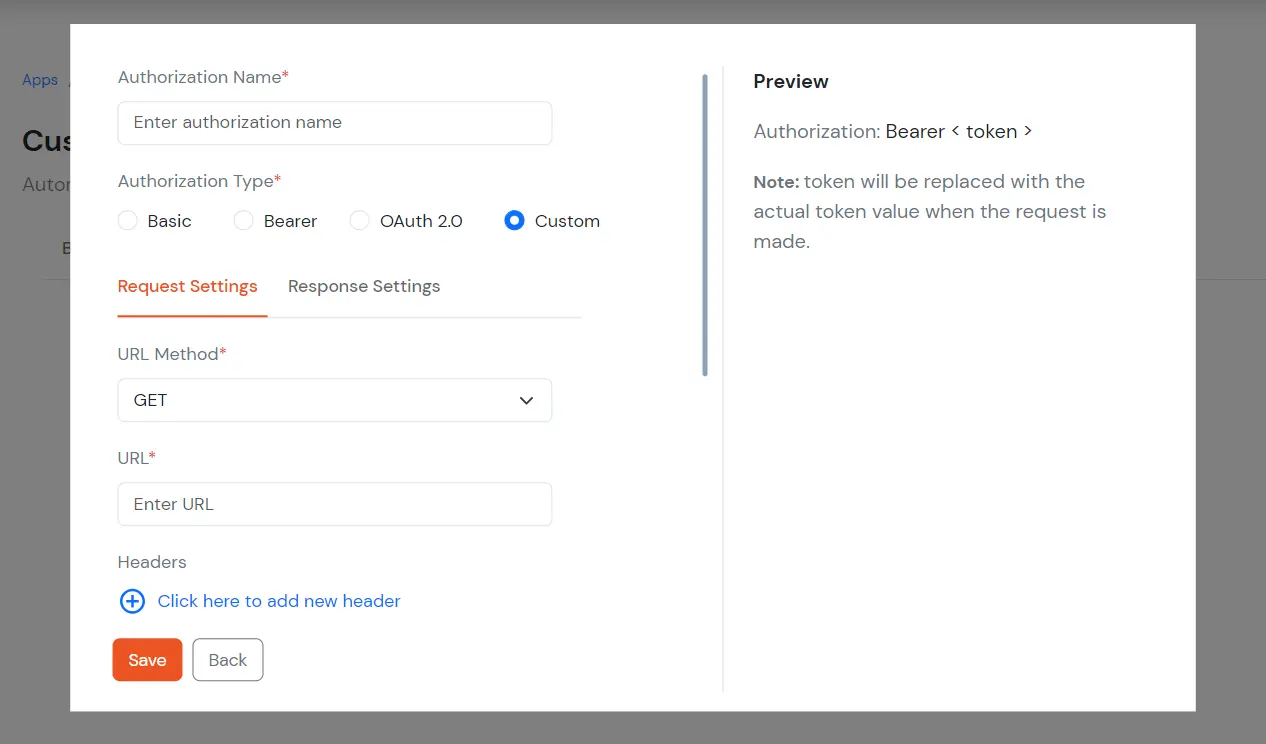
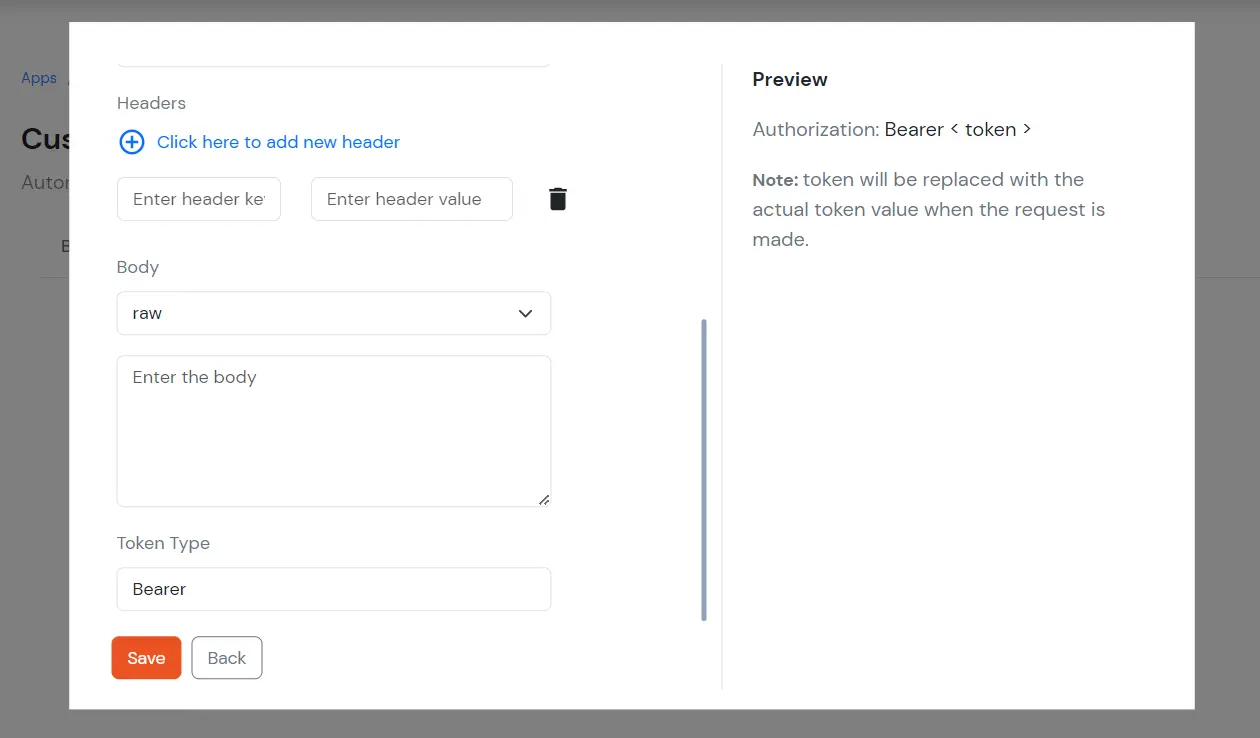
- For this example, we will select Bearer Authorization.
3. Create User
- Select Provisioning event configuration and click on Add Event Configuration to add event configuration
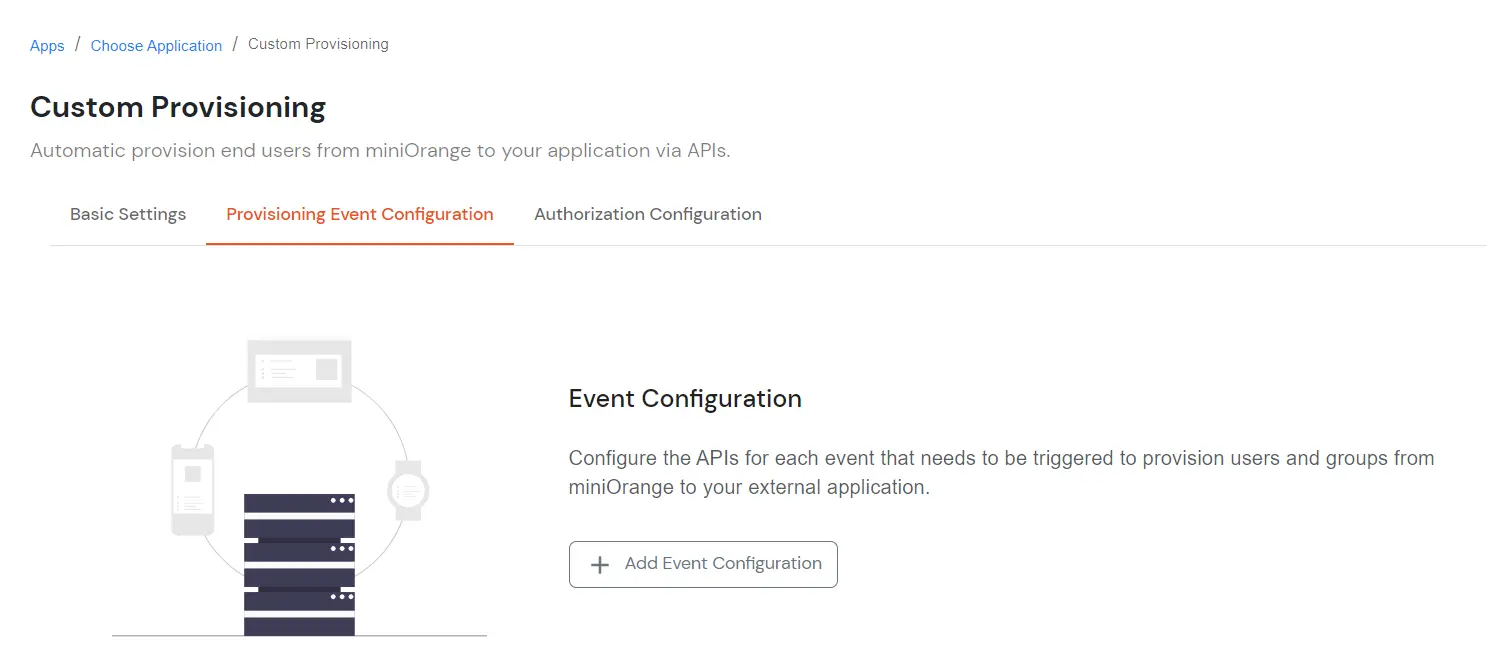
- Add the Event Configuration Name and the API endpoint
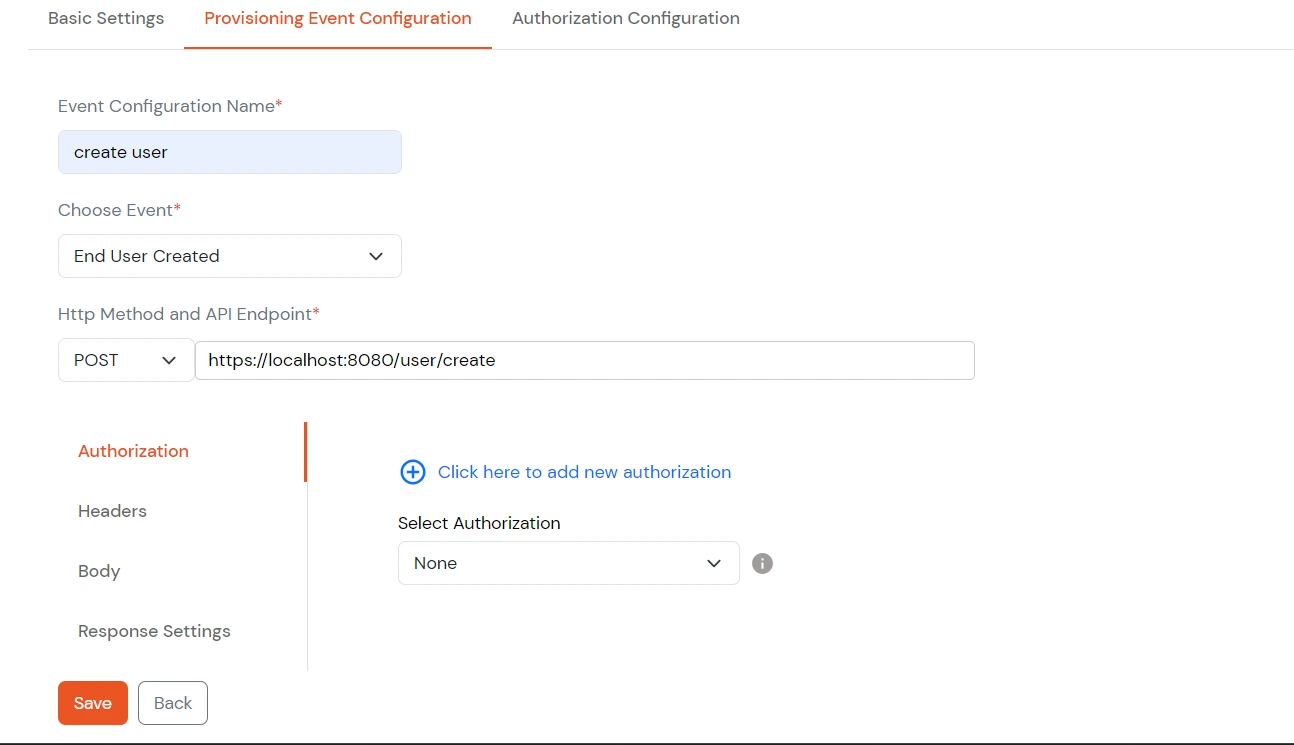
- Select the authorization which you had created in step 2
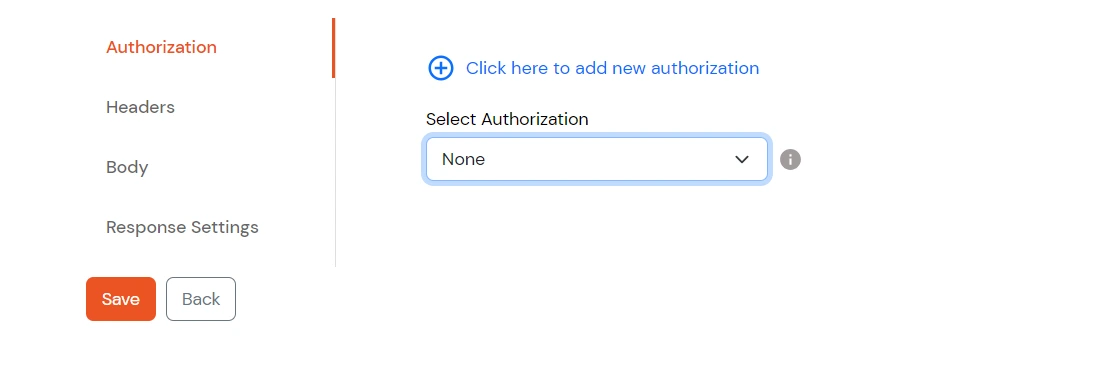
- Add headers if the APi request any other information

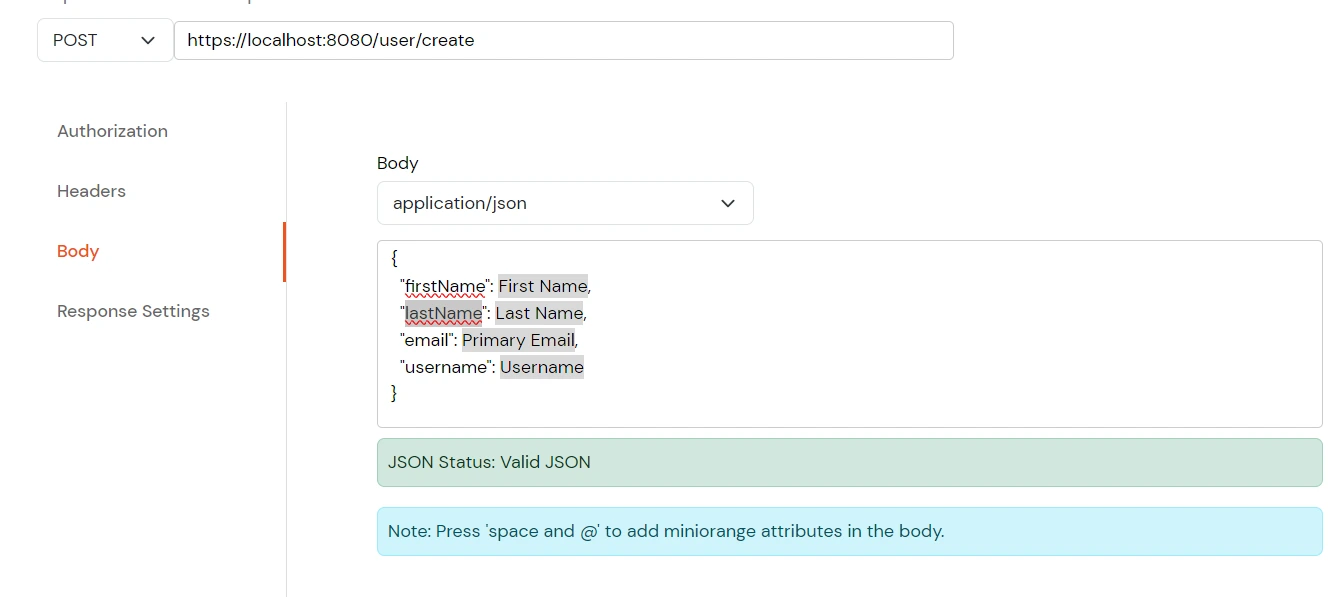
- In the request body, map the parameters of the API with attributes of a user in miniOrange using @ symbol(You will receive a dropdown to select the user attribute).
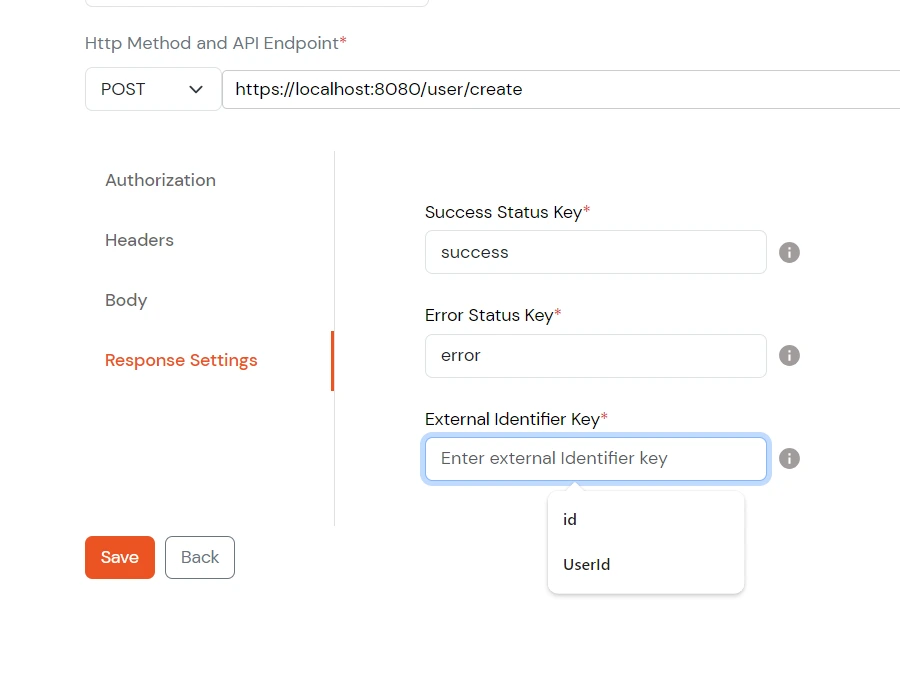
- Store the user identifier we will receive in the response to map it with other user related APIS
- Save the configuration. Enable provisioning for the event.

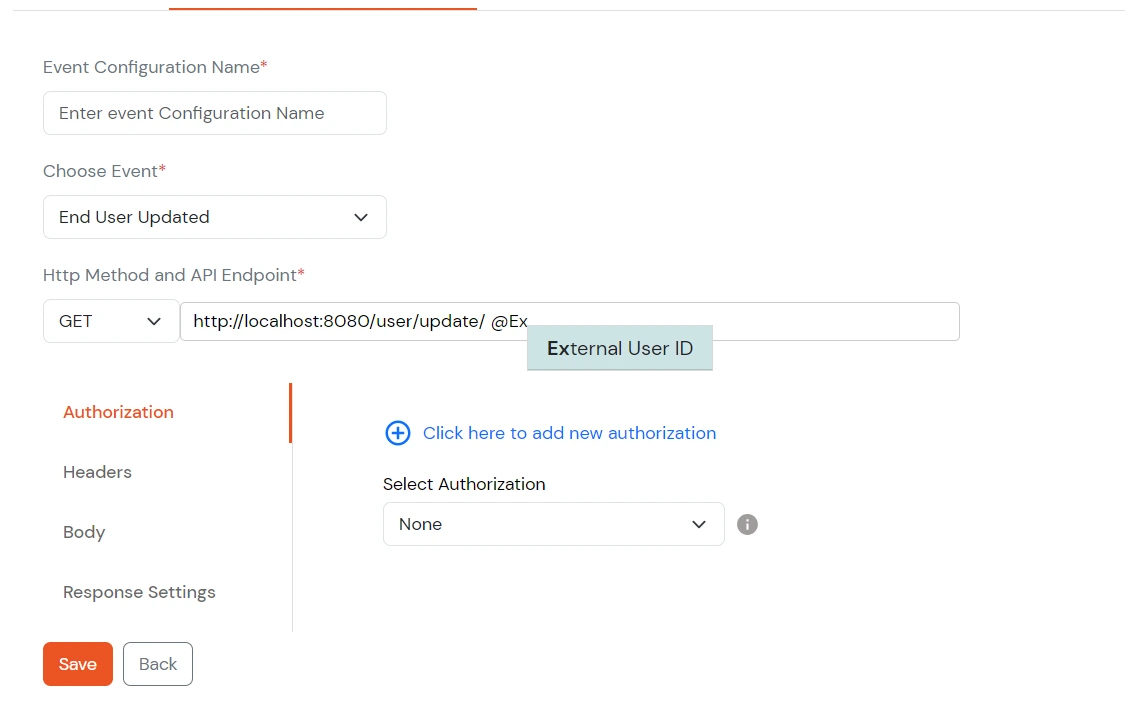
4. Update User
- Follow the steps given in .
- If you want to use the user Identifier stored in URL, leave a space and use @ExternalUserId.
5. Create Group
- Go to Groups >> Manage Groups from the left menu and click on Create Group on the top right corner of the page.
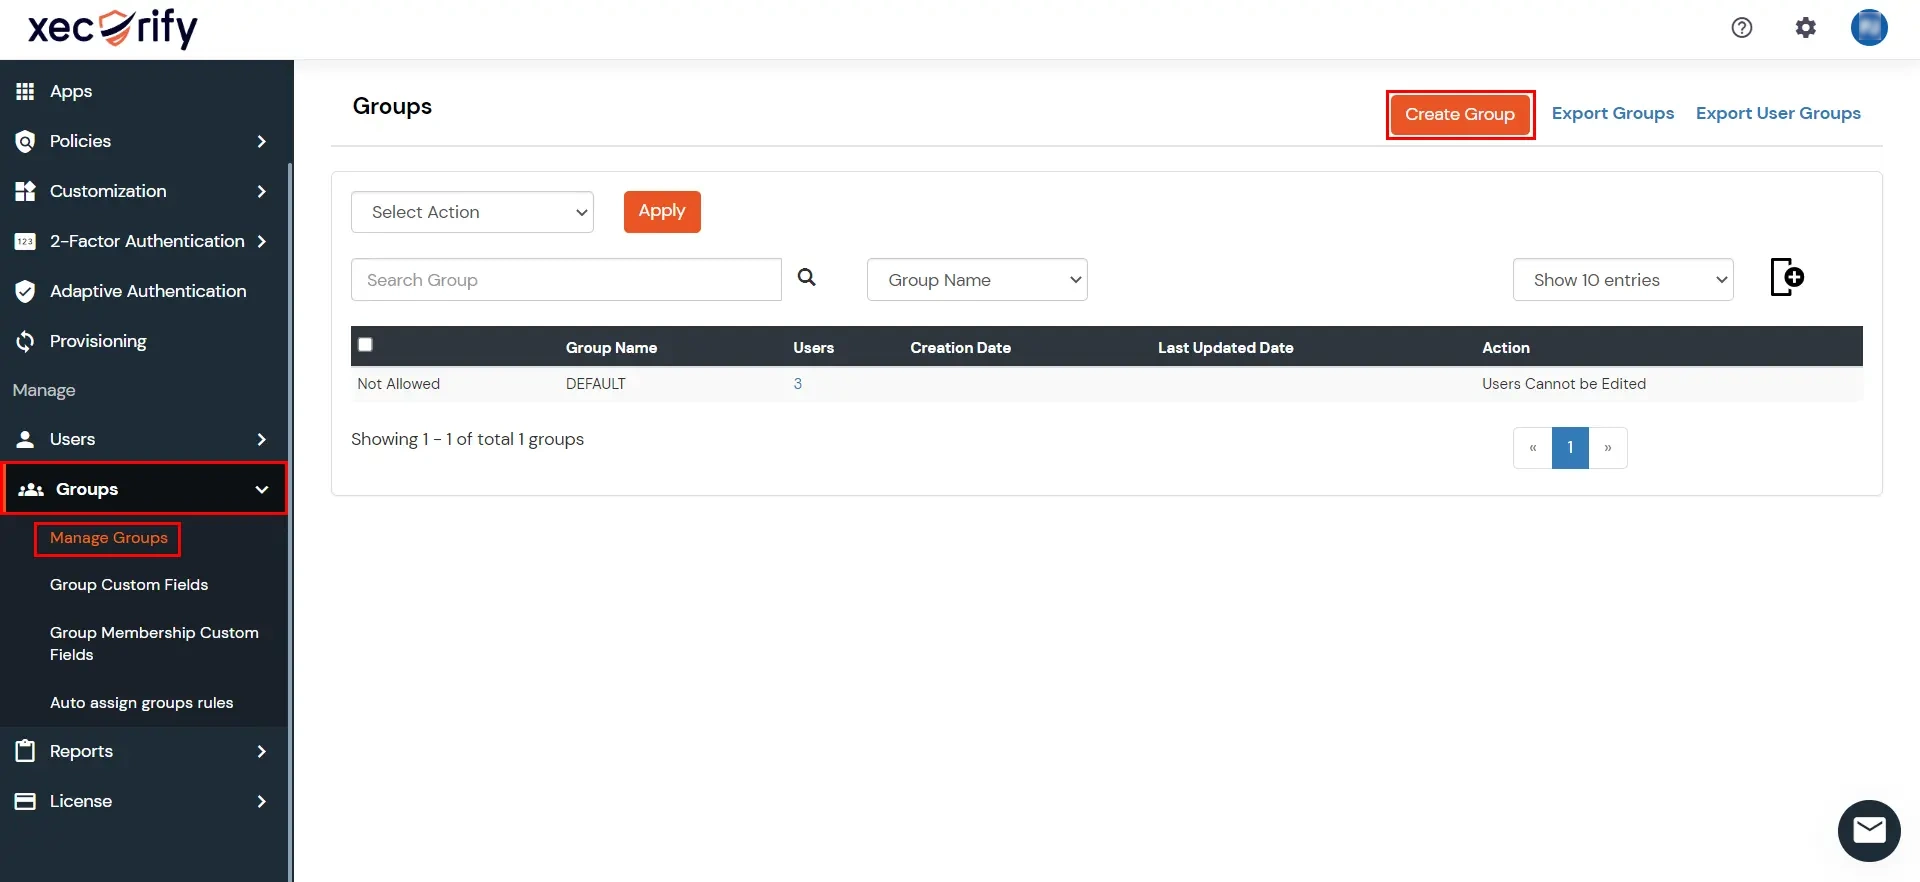
- Enter Group name and create the group.
6. Add Policy
- In the Policies section, navigate to Add Policy tab.
- In Select Application section, select the application you have created in step2.
- In Configure Settings section, select the group you have created in step4 and enter the policy name with the required login method.
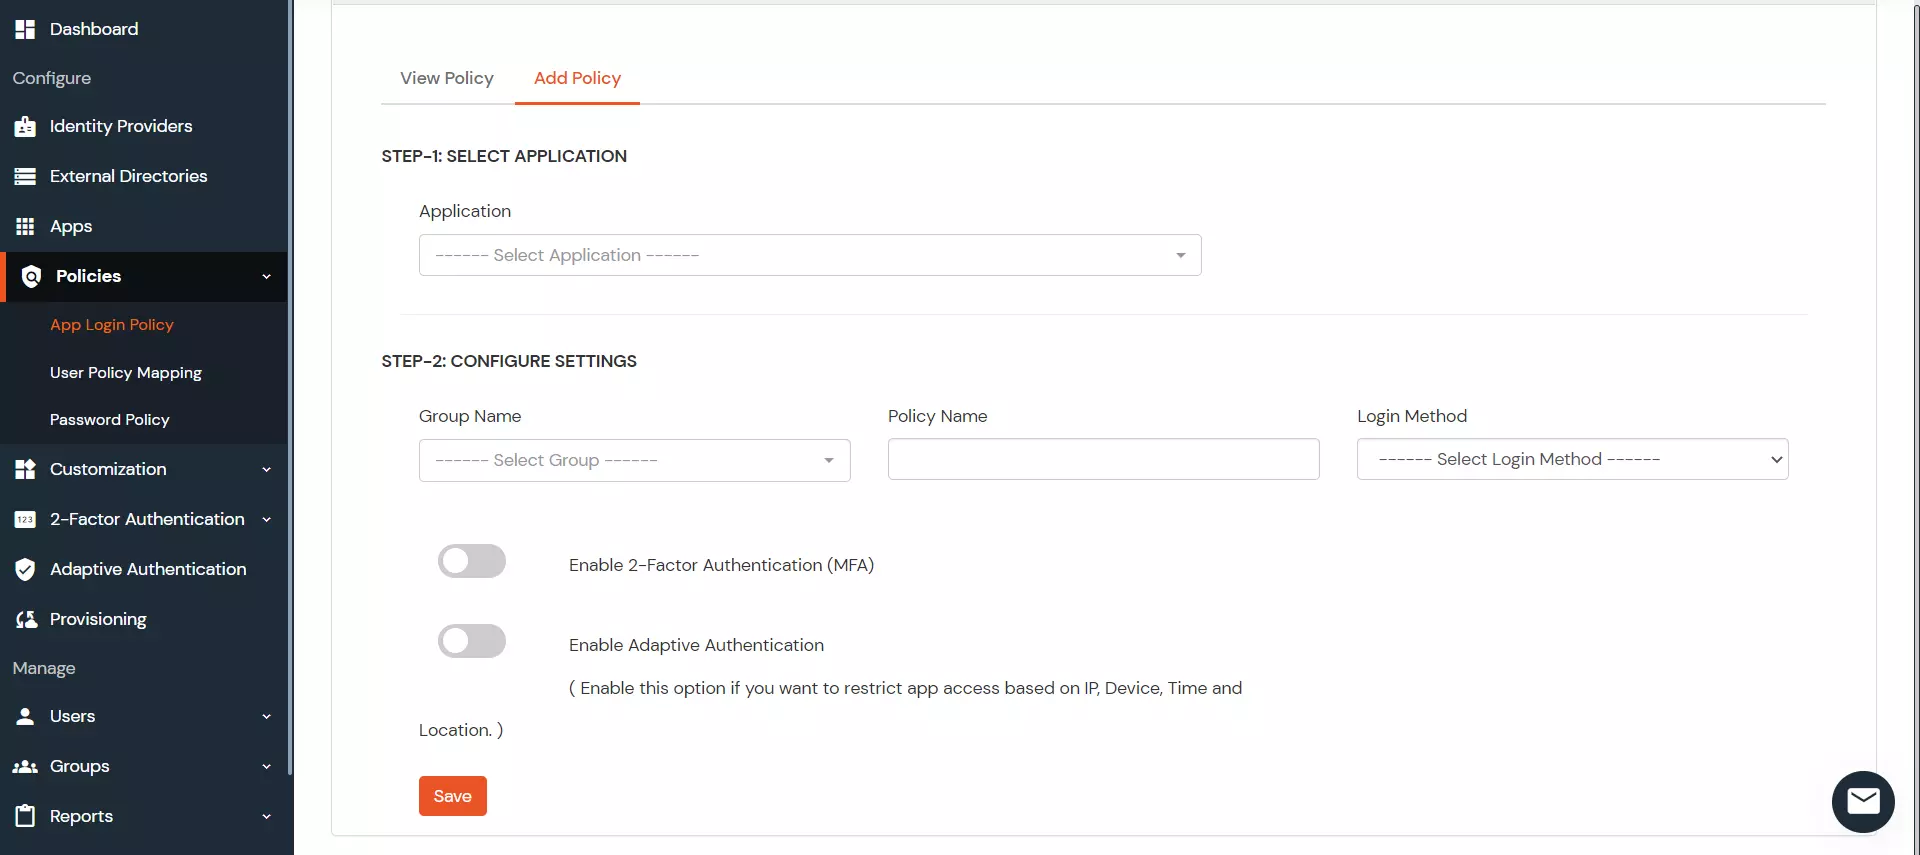
- Click on Save button.
7. Add Users
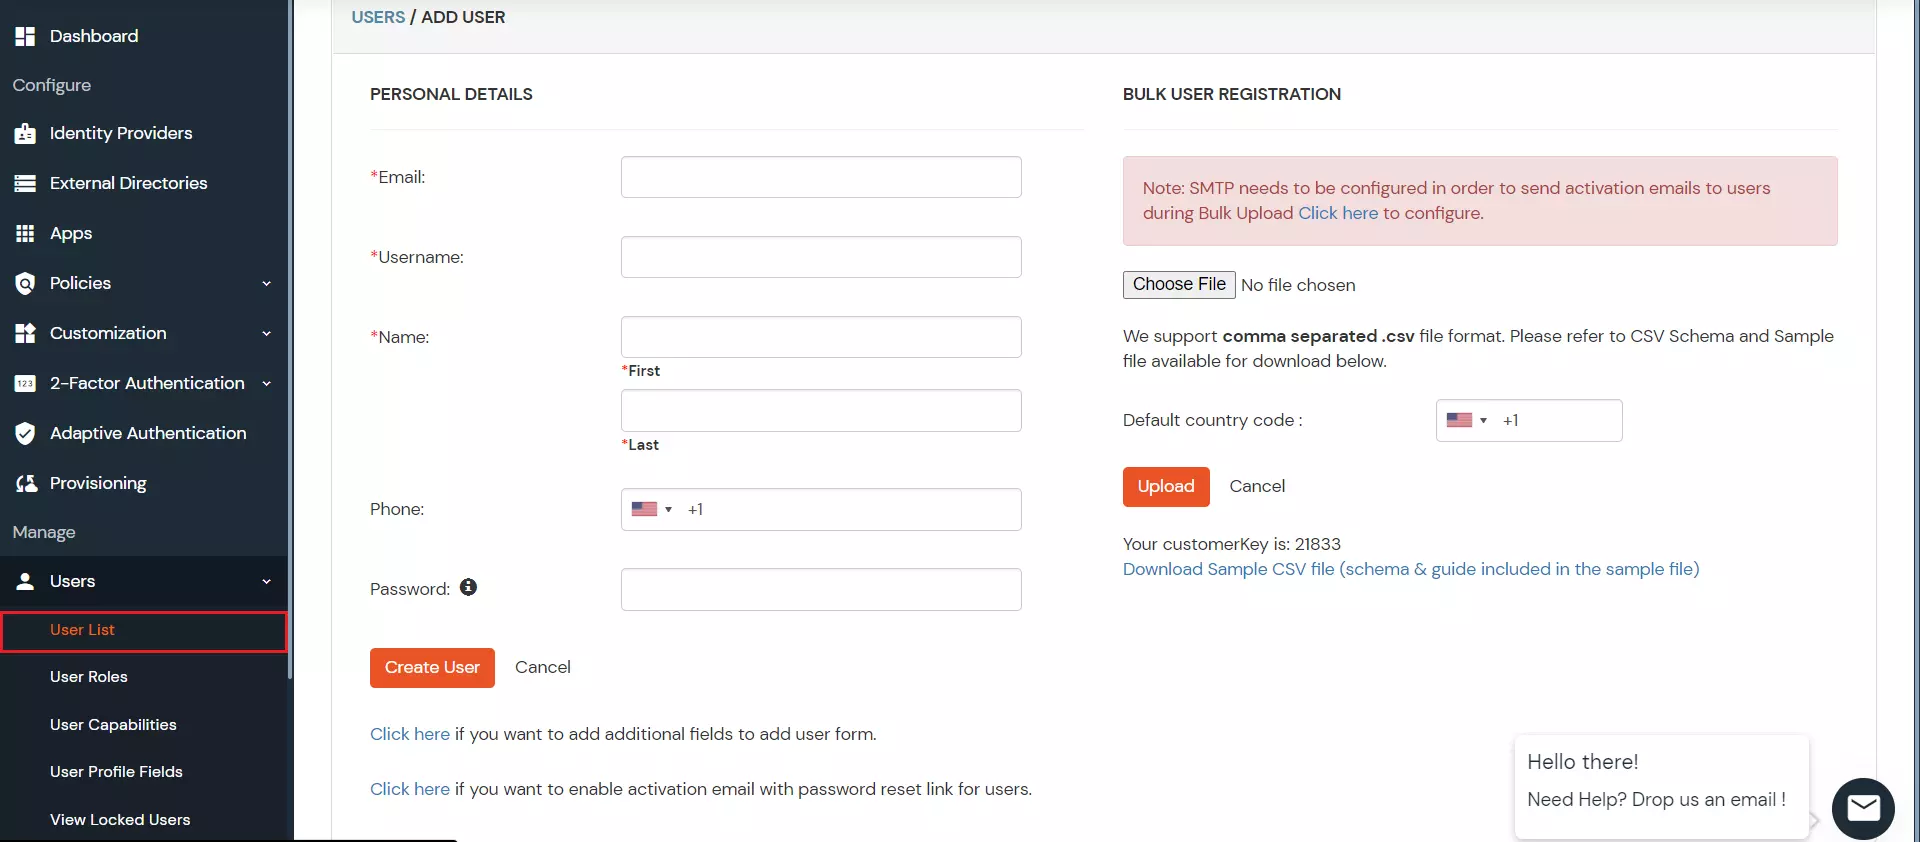
- Go to Users > Add User.
- Enter the Users Details and the user will be created.
8. Assign Users
- Go to Groups.
- Assign the users to the Group you have created in step 6.


