How to add a SCIM Server App
miniOrange SCIM Server application is used for outbound provisioning using SCIM protocol. In outbound provisioning, A user gets provisioned from miniOrange to another application using SCIM protocol.
Steps to setup provisioning from miniOrange to SCIM supported app
- Login into miniOrange Admin Console.
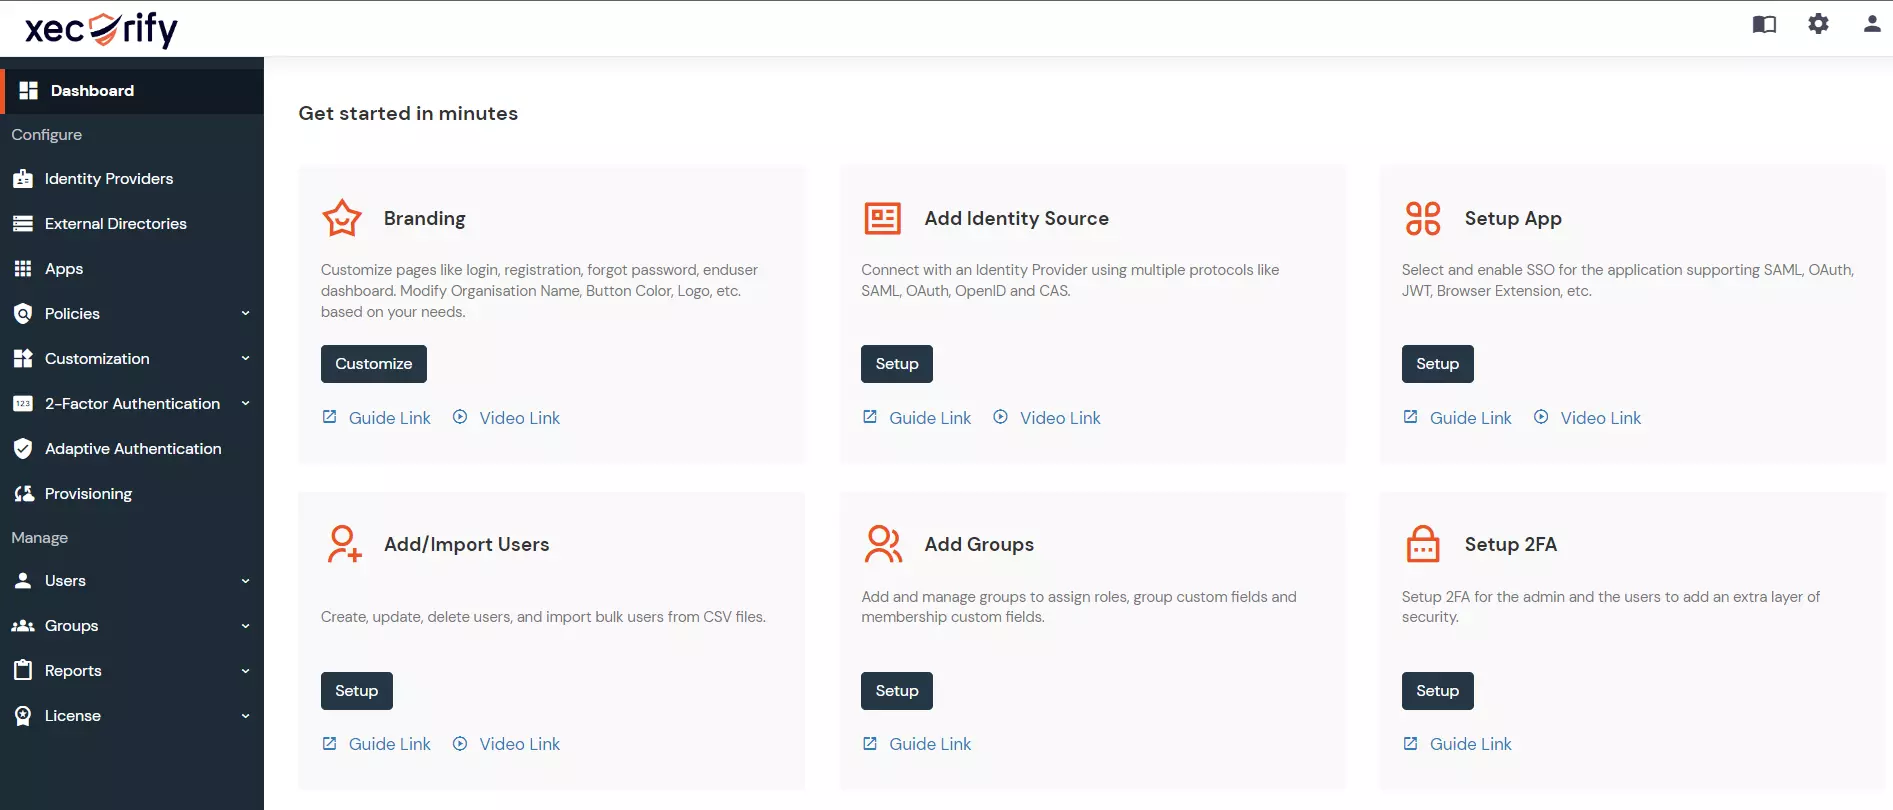
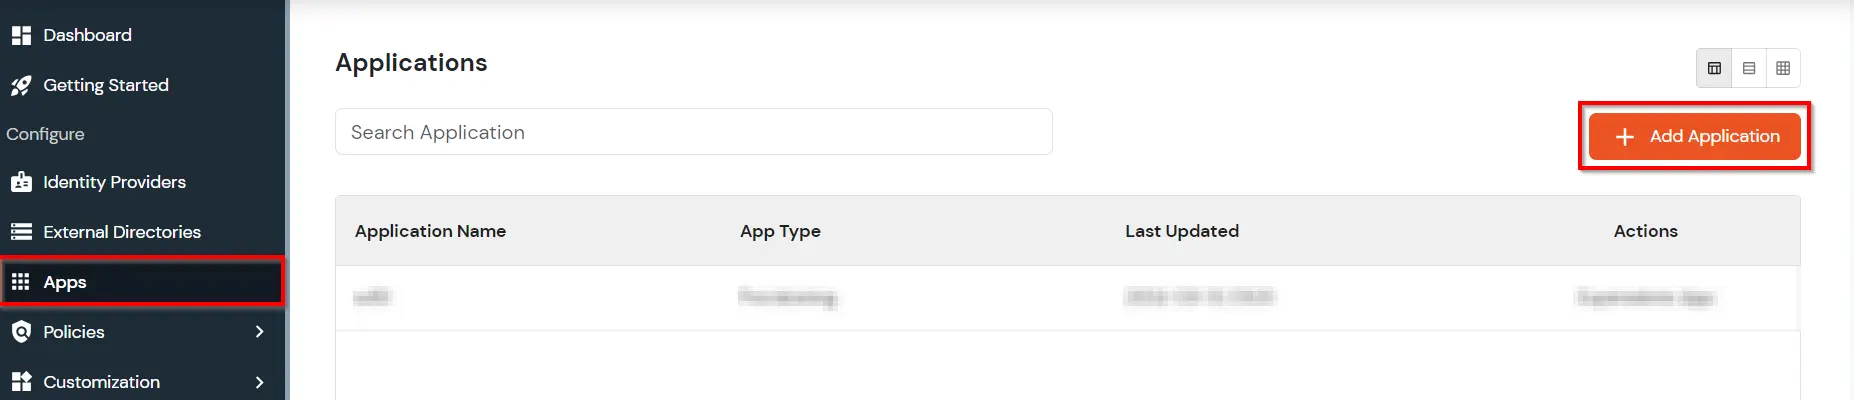
- Click on Apps. It shows a list of all configured applications and option to modify them. Click on Add Application.
- Under Choose Application, select Provisioning from the All Apps dropdown.
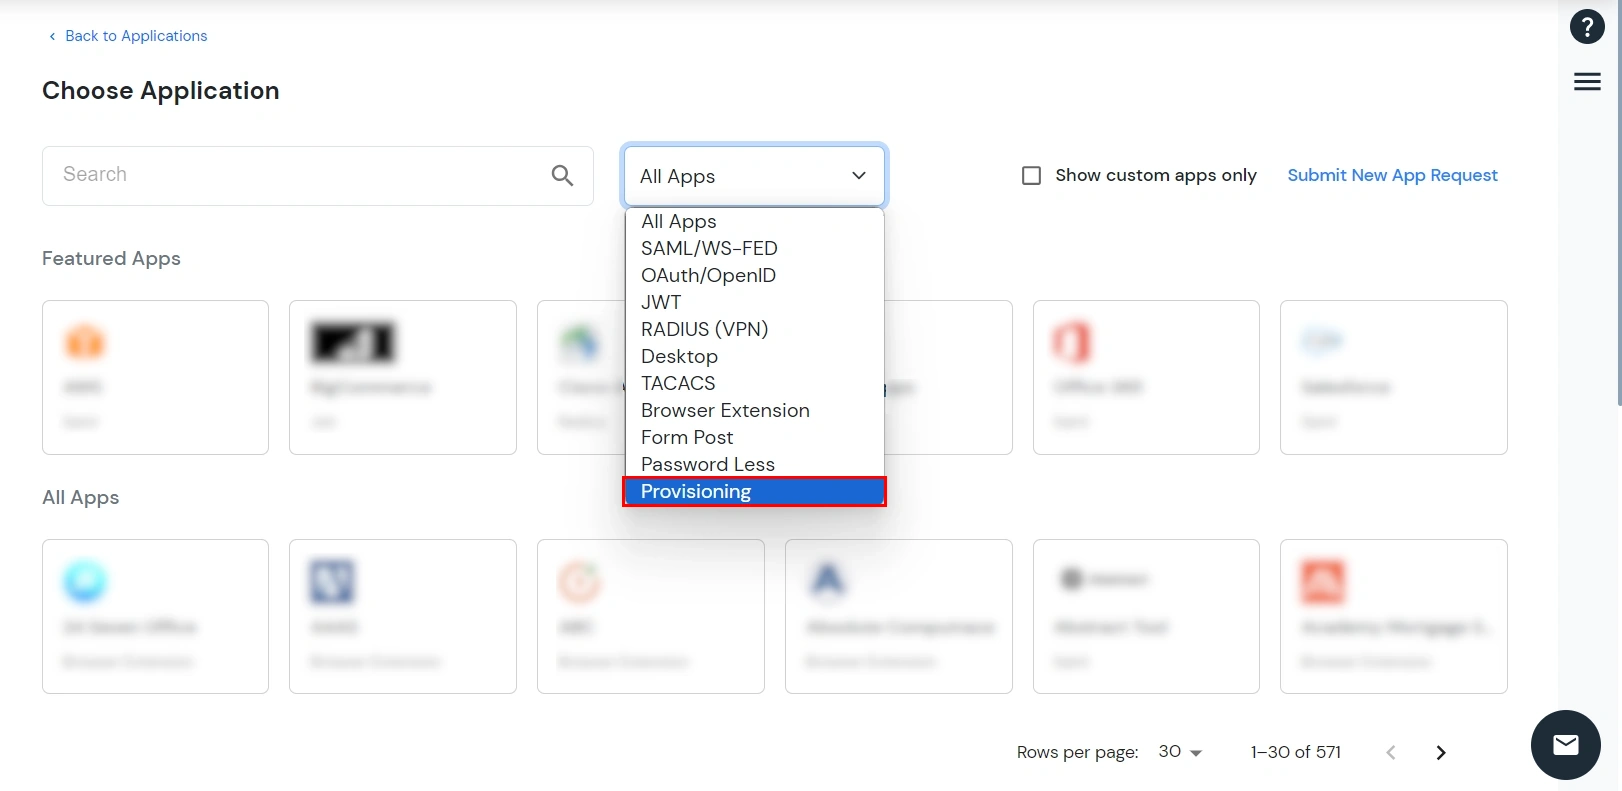
- Search for your application from the list, if your application is not found. Search for scim and you can set up your app via SCIM Server (Destination).

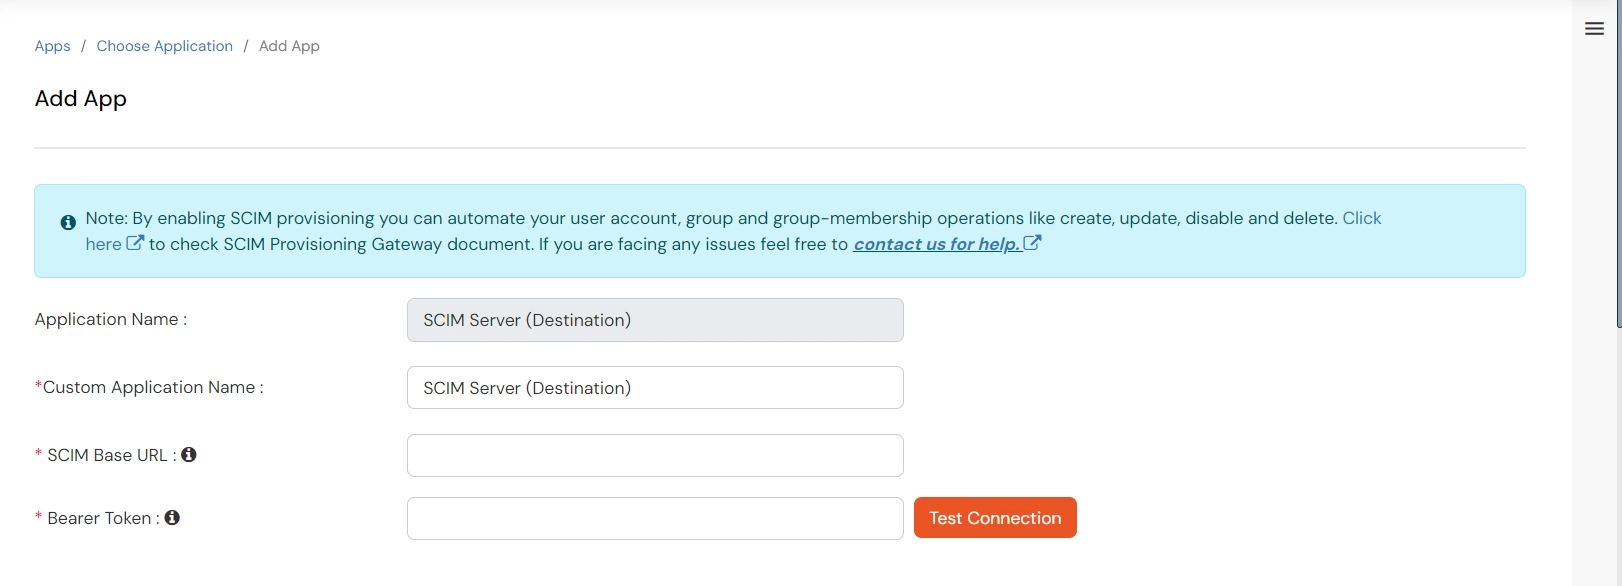
- Enter the SCIM Base URL (Provisioning url) and Bearer Token of your Application and do the Test Connection.
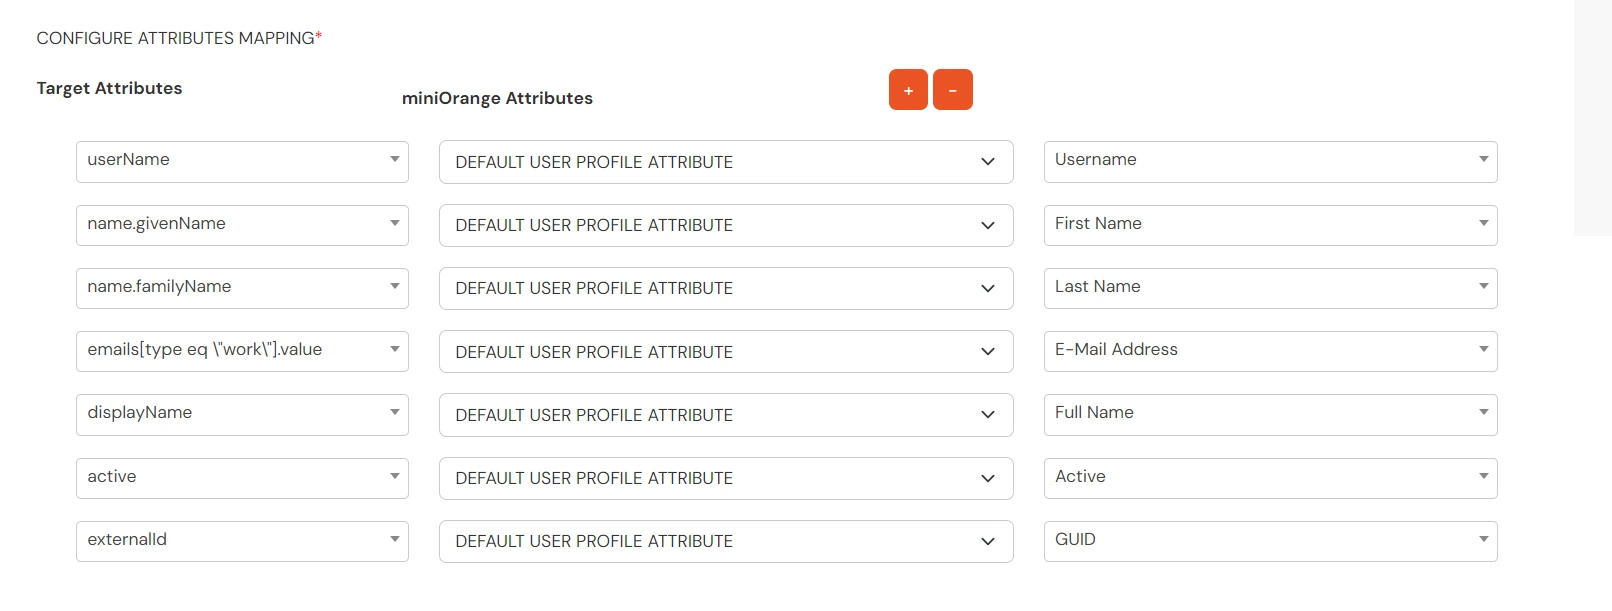
- You can add more attributes according to your requirements. (Optional)
- You can enable/ disable the Provisioning Features option as per your requirement.
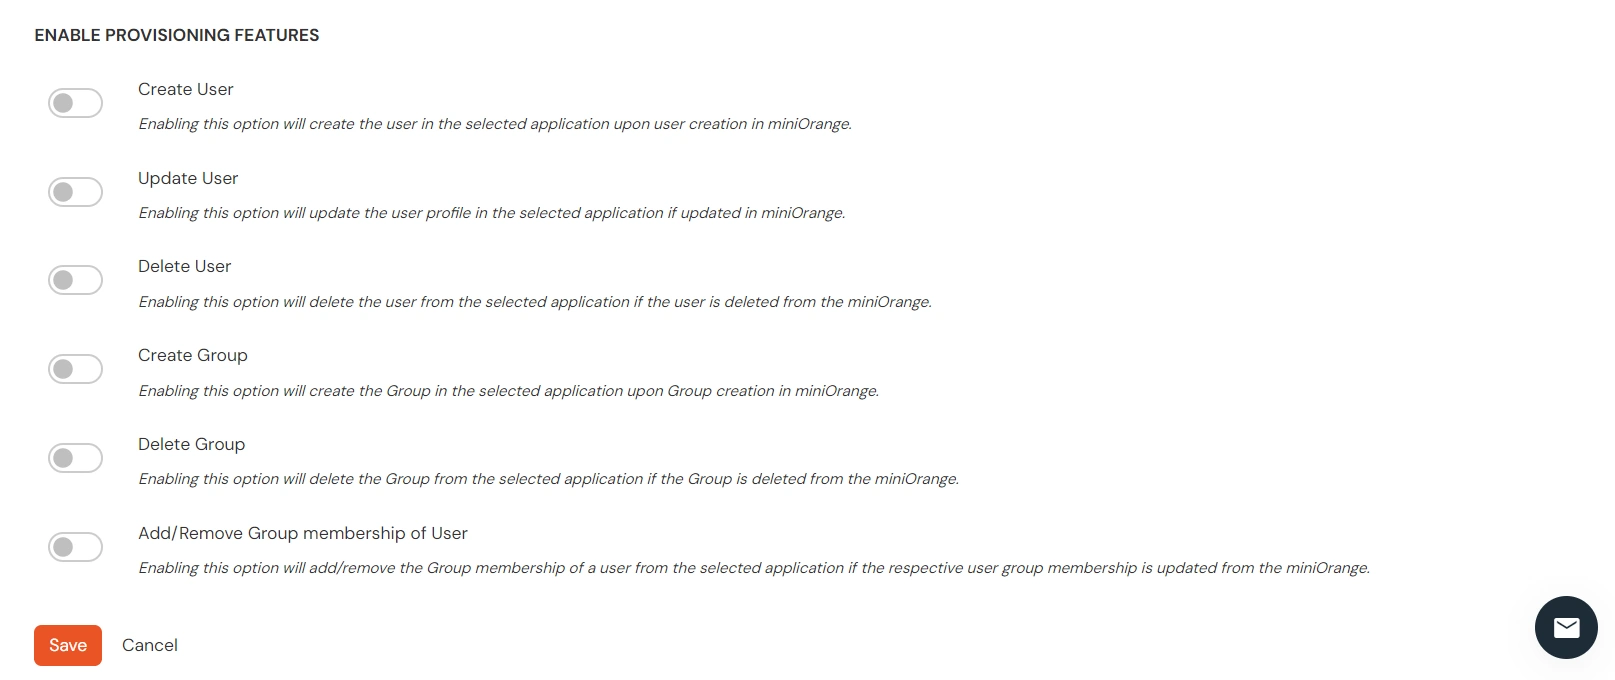
- Create User: Enabling this feature will automatically create a user in the configured SCIM application whenever a user is created in miniOrange.
- Update User: Enabling this feature will update the user profile in the configured SCIM application if updated in miniOrange.
- Delete User: Enabling this feature will delete the user from the configured SCIM application when they are removed from miniOrange.
- Create Group: When enabled, this feature will automatically create a group in the configured SCIM application whenever a group is created in miniOrange and assigned to that SCIM application.
- Delete Group: When enabled, this will delete the group from the configured SCIM application when it is removed from miniOrange.
- Add/Remove Group Membership of User: Enabling this option will add or remove a user's group membership in the configured SCIM application, depending on changes made to group membership in miniOrange.
- Click on Save.
2. Create Group
- Go to Groups > Create Group. Enter the Group Name and click on Create Group button and the group will be created.

3. Add Policy
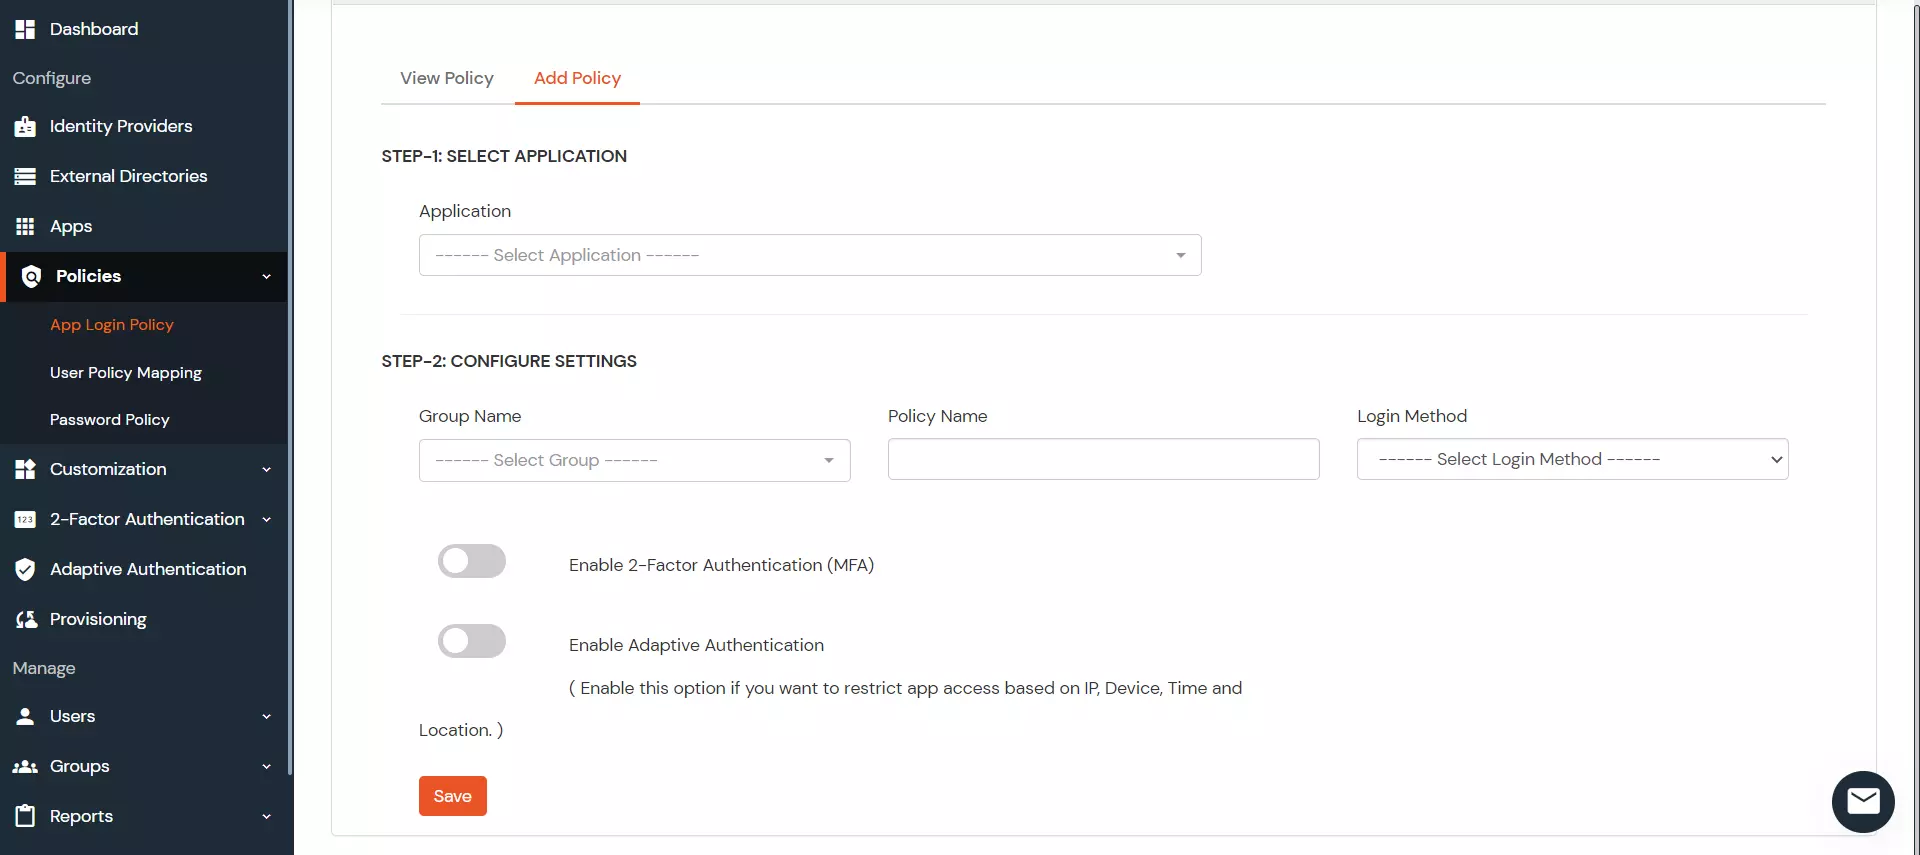
- In the Policies section, navigate to Add Policy tab.
- In Select Application section, select the application you have created in step1.
- In Configure Settings section, select the group you have created in step2 and enter the policy name with the required login method.
- Click on Save button.
4. Add Users
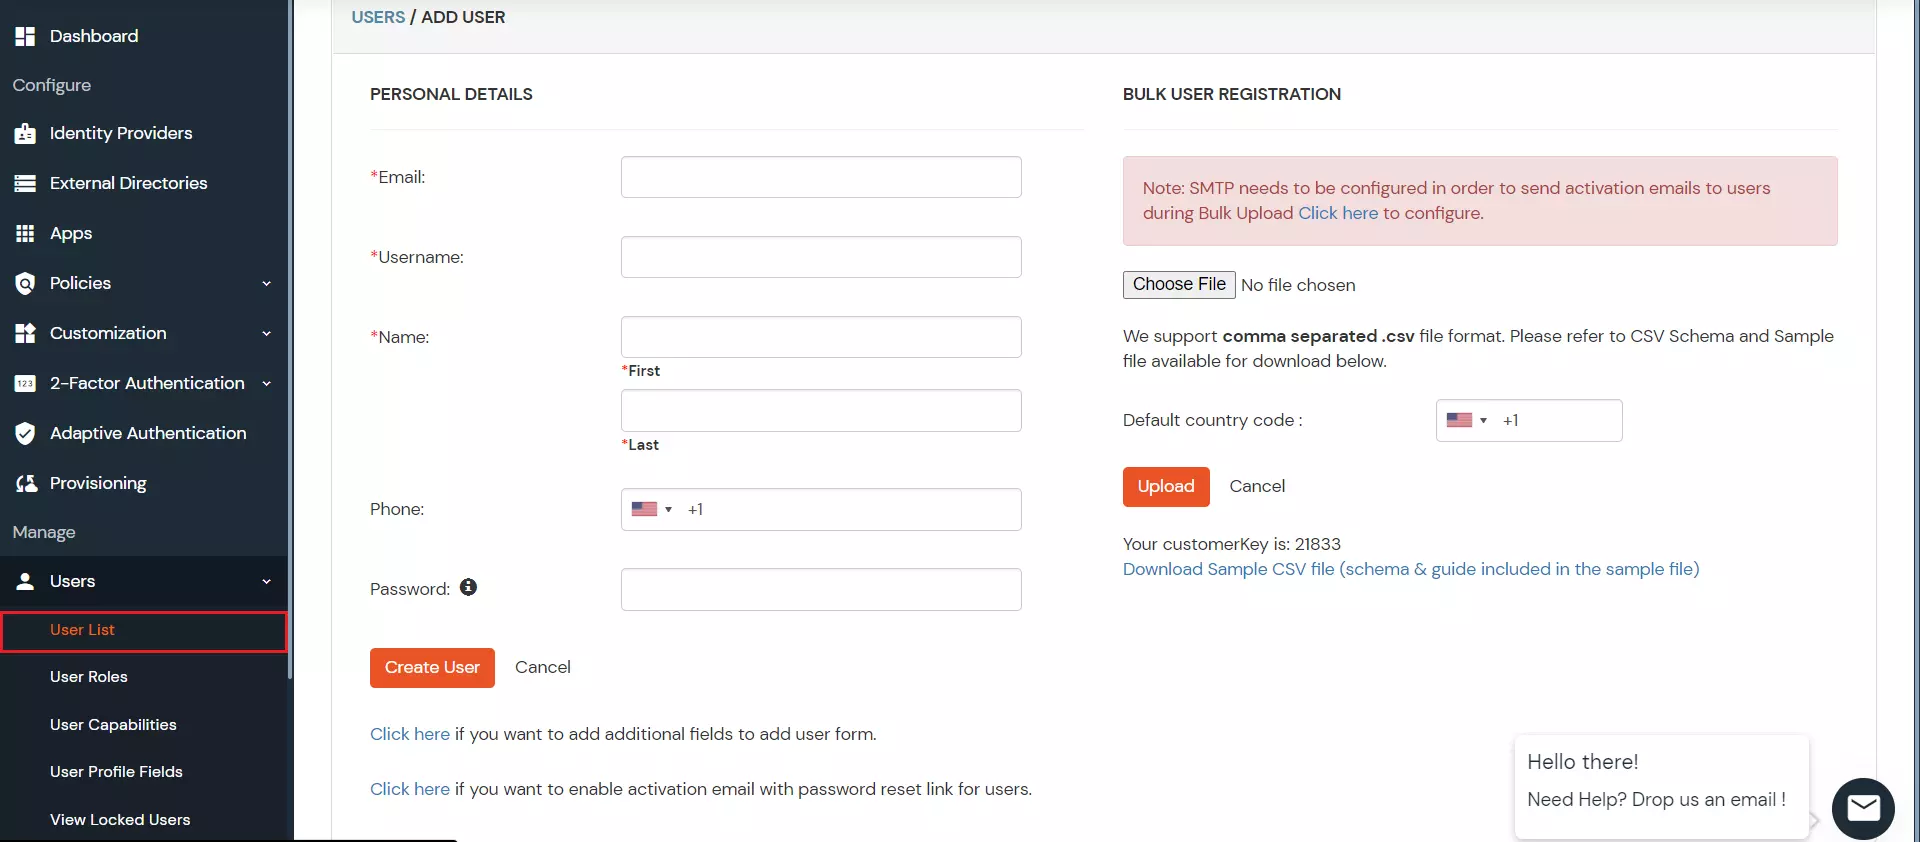
- Go to Users > Add User.
- Enter the Users Details and the user will be created.
5. Assign Users
- Go to Groups.
- Assign the users to the Group you have created in step4.
- Verify that the users are assigned to the groups.

6. Deprovisioning the user
To De-provision any user you can either delete the user from the miniorange or remove the user from the group associated with the application.
- Steps to remove a user from the Group
- Go to the Groups section in the left navigation panel > Manage Groups.
- Click on the Users field for the group, you have created previously.
- Select the user you want to remove from the group.
- Click on Select Action.
- Select Remove from the Group.
- Click on Apply.
- Steps to delete a user in miniOrange
- Go to the Users section in the left navigation panel > User List.
- Click on the select option for the user you want to remove.
- Click on Delete in the drop-down menu.